- What Is Mirror Glaze?
- How to Color This Mirror Glaze Recipe
- How to Properly Pour Mirror Glaze Over a Cake
- Tips for Making the Best Mirror Glaze Cake
- Making This Recipe in Advance & Storage Tips
- Common Questions
- Give It a Whirl—You’re Gonna Love It
Blue Mirror Glaze Cake—oh wow, isn’t it just the prettiest thing people bring to birthday parties these days? You spot it across the dessert table, all glossy with that insane blue shine, and probably think there’s no way you could pull it off. I know I did once (spoiler, it’s not rocket science). But here’s what I’ve learned: if you’ve ever wanted to totally impress your friends—heck, even yourself—at home, mastering this cake is an absolute game changer. Get ready, because I’m spilling all my not-so-secret steps for the best Blue Mirror Glaze Cake tricks!
What Is Mirror Glaze?
Let’s keep it real: the fancy shine isn’t just wizardry, although I wish it was. Mirror glaze is basically a shiny, gelatin-based icing that you pour over cakes. Makes them look all space-age and super professional, right? All that shine comes from how the gelatin and sugar set together—science, but the tasty kind.
It’s surprisingly accessible with easy-to-find ingredients. Don’t be put off by the look—it’s about temperature as much as anything else. That smooth, slick surface? It needs to be poured at just the right warmth: not too hot, or it’ll melt right off, not too cold, or it clumps up like old pudding.
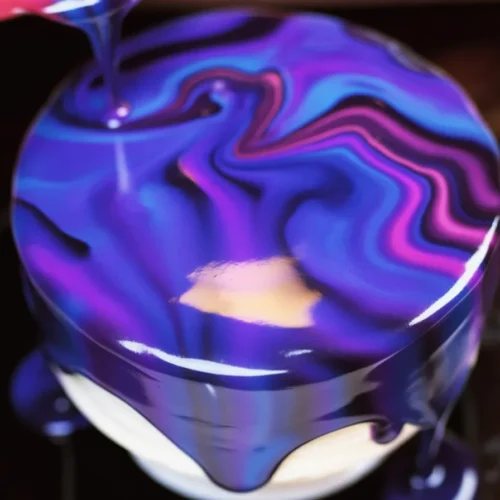
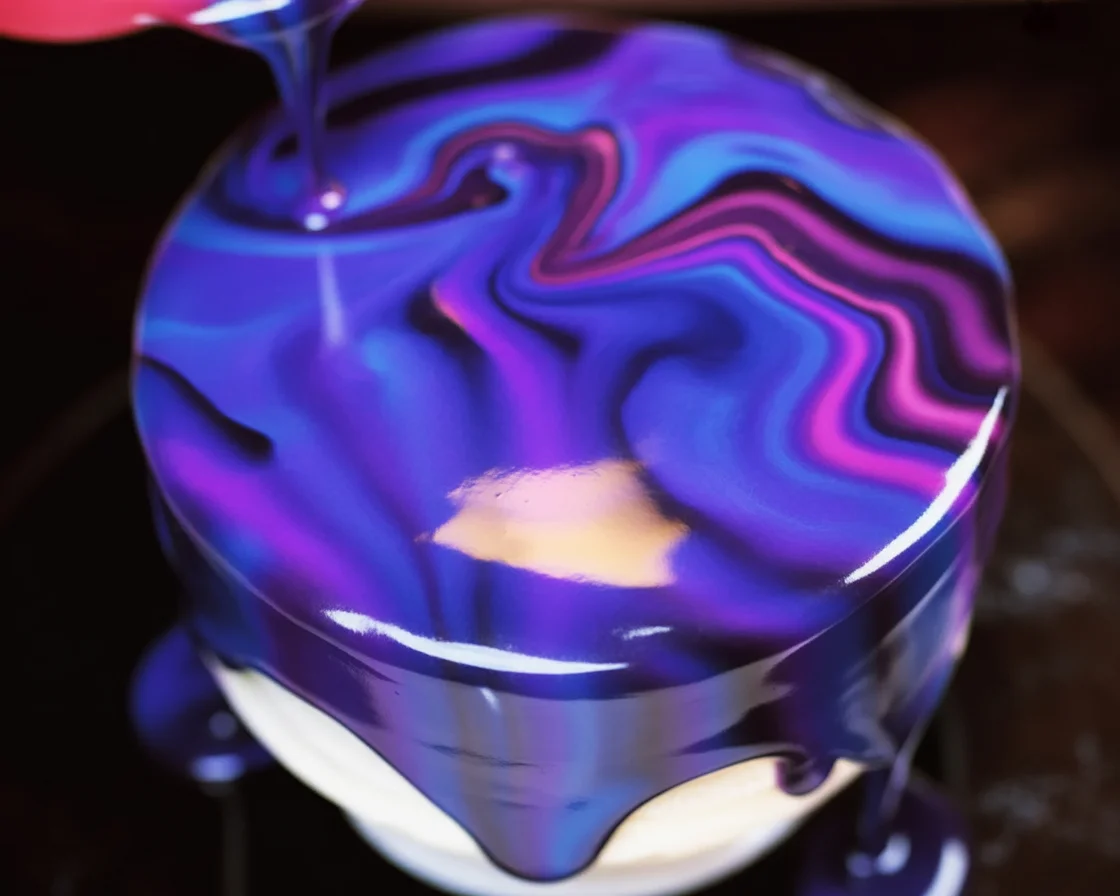
Now, some folks go wild with colors and swirls. But for the Blue Mirror Glaze Cake, you want a deep glossy blue (honestly, it’s like staring at a candy ocean). It’s like edible jewelry. Family asked if I’d ordered mine from a five-star bakery when I first got it right.
“I tried this blue mirror glaze technique for my cousin’s birthday cake, and people were *convinced* I’d bought it from a fancy store. The shine was surreal! Definitely bookmarking this one forever.” – Gina P., actual baking newbie
How to Color This Mirror Glaze Recipe
You wanna get that rich blue on your Blue Mirror Glaze Cake? Okay, forget natural blue food dyes—never bright enough. Get yourself some quality gel food coloring (the kind you see in baking aisles, not those watery drops for eggs).
Here’s my “not so scientific” approach: start small. Seriously. If you think you have enough color, you probably don’t, but don’t dump half the bottle in! Mix in a smidge, stir, and see how it looks in the light. Sometimes I do two drops, then freak out when it’s not blue enough, then go overboard (learned the hard way). If you want any swirly marble effect, toss in a lighter blue, or even a shimmer powder, and swirl gently with a toothpick—don’t go wild or you’ll lose the effect.
And hey, if you want that “universe” look, tiny flecks of edible silver go a long way. My niece thought it was “real fairy cake.” Best compliment ever.
How to Properly Pour Mirror Glaze Over a Cake
So here’s where many folks trip up—myself included the first time. Cake’s gotta be super cold. Like outta the freezer cold. Room temperature and, yeah, your glaze just slides right off. Set your cake (on a wire rack, over a pan to catch drips) and pour slow from the middle, outward in circles. Don’t rush! I once dumped it too fast and, wow, blue puddle city everywhere.
Go for one steady pour, not layers. A spatula can help nudge drips, but don’t overwork it or you wreck the shine. I set a timer and give it maybe five minutes to set up before moving the cake. Gotta be patient here. You’ll get that glass-smooth, Instagram-worthy look.
Quick tip: If your glaze gets bubbles, pop ‘em with a toothpick before it hardens. You want the surface as flawless as possible—or at least as flawless as your patience will allow.
Tips for Making the Best Mirror Glaze Cake
Here’s where I spill my hard-earned secrets for a Blue Mirror Glaze Cake that actually wows (and doesn’t make you want to scream):
- Make sure the cake’s surface is smooth and covered in ganache or buttercream so the glaze glides right on.
- If your kitchen is warm, keep the cake chilled until the last second—a little condensation won’t ruin things, but too much will.
- Let the glaze cool to about 90 to 95 degrees F before pouring. Hotter and it’s a mess (trust me).
- Use a tall cup or pitcher to pour. Clumsy hands (like mine) get way less messy that way.
Taste matters too! Underneath that blue mirror glaze cake, I love vanilla or white chocolate cake—lets the color pop.
Making This Recipe in Advance & Storage Tips
Everyone wants to know what’s left for tomorrow, right? So here’s my no-nonsense advice. Blue Mirror Glaze Cake actually keeps its shine best for up to two days in the fridge. Don’t press plastic wrap onto the glaze itself—big mistake, it’ll smudge the glossy finish. Use a tall cake box or just loosely drape wrap, and your masterpiece holds up great.
If you want to prep early, you can make the glaze itself three days ahead. Store it in an airtight container in the fridge. Warm gently to the right temp before using (microwave in ten-second bursts; no one tells you this but it works!).
Freezer? Well, technically yes, but I feel like the shine drops off after defrosting. Still, if you’re desperate, better than nothing.
Common Questions
Why did my glaze turn out lumpy instead of smooth and shiny?
Usually means it was either too cold, or you didn’t whisk the gelatin in enough. Give it some extra stirring next time and check the temp!
Can I put mirror glaze on any cake?
Sorta, but works best on sturdy cakes with a ganache or smooth surface. Soft or crumbly cakes? The glaze will look… not great.
Do I have to use gel food coloring for the blue mirror glaze cake?
In my experience, yes. Liquid coloring just doesn’t give you that pop. Gel is your best bet for a bold, deep shade.
How quickly should I serve the cake after glazing?
Within an hour is best for a jaw-dropping look, but it’ll hold up for a couple days if stored right in the fridge.
Can I use agar-agar instead of gelatin for a vegetarian option?
You can try, but results are less shiny and more likely to crack. I’d say gelatin is the classic because it just works every time.
Give It a Whirl—You’re Gonna Love It
Alright, putting together the perfect Blue Mirror Glaze Cake? It’s totally something you can rock without a culinary degree or a full-on panic attack (if I can, anyone can). Follow those steps—chill everything, pour slow, don’t stress if it goes a little sideways—and you’ll get a result that stops traffic. There are some fantastic video tutorials and ingredient tips online if you need backup.
So, go on, give it a try—and hey, don’t forget to take some photos. You won’t believe how shiny that Blue Mirror Glaze Cake looks under your kitchen lights!

Blue Mirror Glaze Cake Guide
Equipment
- Bundt Pan or Cake Ring
- Candy Thermometer
- Wire Rack
- Measuring Pitcher or Tall Cup
Video
Watch the step-by-step mirror glaze tutorial in the ‘How to Make This Apple Cider Donut Bundt Cake’ section for visuals on pouring technique and glaze consistency.

