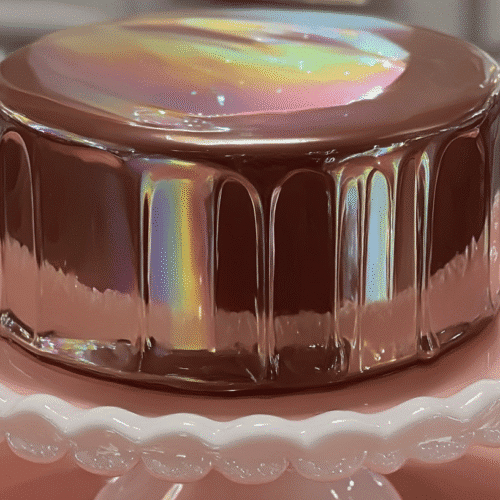
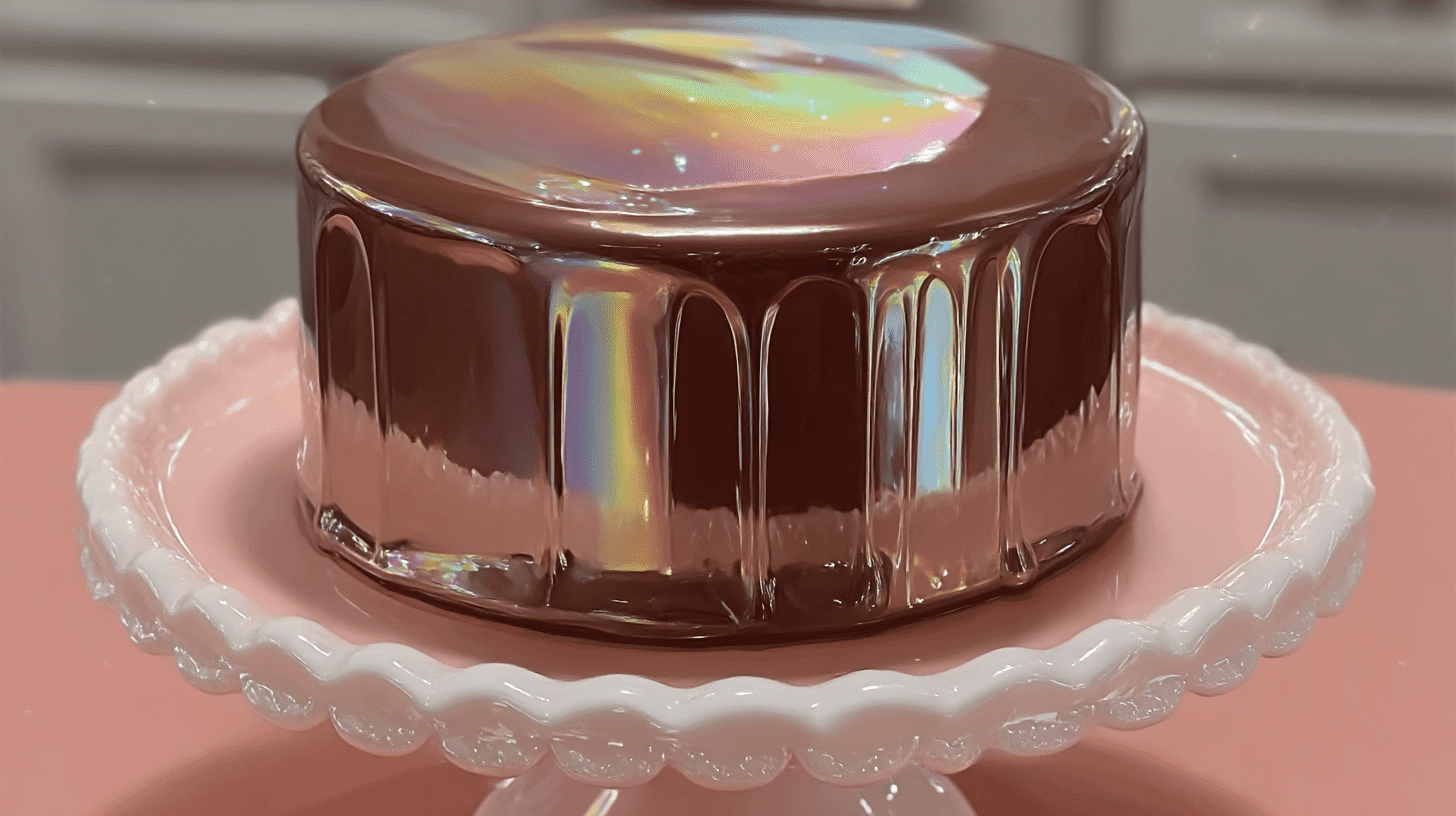
I remember the first time I made a shiny cake for my daughter’s birthday. I was tired, juggling chores, and just wanted something that looked festive. When I set the glossy cake on the table, the kids went silent, and her eyes lit up. The glaze shimmered under the kitchen lights, and in that moment I realized this cake isn’t about perfection—it’s about creating joy that feels bigger than the effort behind it.
Why This Shiny Cake Works
A Cake That Truly Shines
The mirror-like glaze gives this cake a polished, bakery look without fancy tools. It immediately makes any occasion feel special.
Why It’s Foolproof
The recipe is simple: no hard techniques, just whisking and pouring. Even if you’ve struggled with cakes before, this one feels reliable.
The Secret to the Glossy Finish
Sugar, cream, cocoa, and gelatin form a silky glaze that sets smooth and reflective, covering the cake in elegance.
Real-Life Baking Confidence
When you serve this, people notice. It looks impressive, but it’s approachable—something you can be proud to make any day.
Ingredients + Smart Swaps
Pantry Staples
You’ll need flour, sugar, baking powder, and eggs. These create the base for the sponge cake. Butter or oil works to keep the texture tender and moist. Vanilla extract adds a gentle aroma.
Shine-Boosting Ingredients
For the glaze, gather unsweetened cocoa powder, heavy cream, sugar, and unflavored gelatin. These are the essentials for building that flawless glossy layer. The cocoa deepens the color, while the cream makes the glaze rich and silky.
Easy Substitutions
If you don’t have heavy cream, you can use whole milk with a tablespoon of butter for richness. Gelatin sheets or powdered gelatin both work. Gluten-free flour blends can replace all-purpose flour without altering the glaze effect. For a lighter cake, substitute yogurt for half of the butter.
Step-by-Step Instructions
Step 1: Prepare the Cake Base
Whisk flour, baking powder, and sugar in a bowl. In another bowl, beat eggs with vanilla and melted butter. Combine the wet and dry mixtures until smooth. Pour into a greased pan and bake until golden. Let it cool completely before glazing.
Step 2: Make the Cocoa Syrup
In a small saucepan, mix sugar, cocoa powder, and water. Heat gently until everything dissolves. This forms the foundation of the glaze, deepening the color and flavor.
Step 3: Add Cream and Gelatin
Bloom gelatin in cold water for five minutes. Stir heavy cream into the cocoa syrup, then whisk in the softened gelatin until it dissolves completely. This step gives the glaze its shiny texture.
Step 4: Strain for Smoothness
Pour the glaze through a fine mesh sieve to remove any bubbles or lumps. This ensures the surface will be flawless. Cool the glaze until it thickens slightly but still pours easily.
Step 5: Glaze the Cake
Place the cooled cake on a wire rack over a tray. Slowly pour the glaze over the top, letting it drip down the sides. Don’t rush—steady pouring creates that perfect mirror finish.
Step 6: Let It Set
Refrigerate the cake for at least one hour. The glaze will firm up into a smooth, glossy shell. Slice carefully with a hot knife for clean edges.
Why This Cake Works (Culinary Explanations)
The Gloss Factor Explained
The combination of sugar, cream, and gelatin creates a reflective surface. Sugar crystallizes just enough to harden, while gelatin locks in shine.
Moisture Lock Secrets
The glaze acts as a protective barrier, keeping the cake soft for days. It seals in moisture so the sponge doesn’t dry out.
Balancing Flavor and Shine
Cocoa powder gives depth without overpowering sweetness. The ratio of sugar to cocoa ensures the glaze tastes as good as it looks.
The Role of Temperature
Pouring the glaze while it’s slightly warm helps it flow evenly. Too hot, and it will melt the cake. Too cold, and it won’t spread. The sweet spot is when it feels warm but comfortable to the touch.
Why This Recipe Lasts on the Table
Unlike whipped frostings that can collapse, this glaze holds up well. You can serve it at room temperature without losing its shine.
Real-Life Variations & Adaptations
Holiday Sparkle Cake
Add edible gold dust to the glaze for a festive holiday version. A few sprinkles of crushed peppermint turn it into a Christmas centerpiece.
Chocolate Lovers’ Version
Use dark cocoa and add a splash of espresso to the glaze for an intense, bittersweet flavor. The shiny finish becomes even darker and more dramatic.
Gluten-Free Twist
Swap all-purpose flour with a gluten-free blend. The sponge stays soft, and the glaze works exactly the same, making this cake accessible to more guests.
Quick Weeknight Option
Use a boxed cake mix as the base if you’re short on time. The magic is in the glaze, so you still get the shiny effect without baking from scratch.
Mistakes & Fixes
Over-Mixing the Batter
Too much mixing makes the sponge dense. Stir until just combined, leaving the batter slightly lumpy if needed.
Dull Glaze Woes
If the glaze looks matte instead of shiny, it may have cooled too much. Warm it gently and re-pour.
Cracked Surface Fix
If your cake develops cracks, don’t panic. The glaze covers imperfections completely, leaving you with a flawless surface.
Serving Too Soon
Cutting into the cake before the glaze sets will smudge the finish. Always wait at least an hour for best results.
FAQ
How do I keep my shiny cake glossy overnight?
Cover it lightly with plastic wrap without touching the surface. Store in the fridge, and it will stay shiny for up to three days.
Can I make this cake ahead for a party?
Yes, bake the sponge a day early and glaze it the morning of your event. The cake actually tastes better when it rests.
What’s the best way to slice without smudging?
Dip a sharp knife in hot water, wipe it dry, and slice slowly. The heat helps the blade glide through the glaze without pulling.
Can I freeze shiny cake with the glaze?
Yes, but wrap it carefully in two layers of plastic wrap and foil. Thaw in the fridge overnight to preserve the shine.
Final Encouragement
The truth is, nobody sits down at a table hoping for a flawless dessert—they just want something that makes them feel cared for. A shiny cake does exactly that. It doesn’t matter if you’ve had a long day or if the kitchen looks like a storm hit it; this cake brings a little treasure of joy. When you set it down, you’ll see eyes brighten and hands reach forward. That’s the heart of home baking—not perfection, but connection. You’ve got everything it takes to make this moment happen, and I promise, it will be worth every single stir.

Shiny Cake with Mirror Glaze
Equipment
- Mixing Bowls
- Whisk
- Cake Pan
- Saucepan
- Fine Mesh Sieve
- Wire Rack
Ingredients
Cake Base
- 1 1/2 cups all-purpose flour
- 1 tsp baking powder
- 3/4 cup sugar
- 3 eggs room temperature
- 1/2 cup unsalted butter melted
- 1 tsp vanilla extract
Mirror Glaze
- 1 cup sugar
- 1/2 cup unsweetened cocoa powder
- 1/2 cup water
- 1/2 cup heavy cream
- 2 tsp gelatin powdered, bloomed in cold water
Instructions
- Preheat oven to 350°F (175°C). Grease and flour a cake pan.
- Whisk flour, baking powder, and sugar together. In another bowl, beat eggs with vanilla and melted butter. Combine wet and dry mixtures until smooth. Bake until golden, 30–35 minutes. Cool completely.
- For glaze, simmer sugar, cocoa powder, and water until dissolved. Remove from heat.
- Bloom gelatin in cold water. Stir cream into cocoa syrup, then whisk in gelatin until fully dissolved.
- Strain glaze through a fine sieve for smoothness. Cool until slightly thickened but pourable.
- Place cooled cake on a rack over a tray. Pour glaze slowly over top, letting it drip evenly down the sides.
- Refrigerate at least 1 hour until glaze is set. Slice with a hot knife for clean cuts.

