Mirror Glaze Cake Recipes I’ll never forget the first time I saw a mirror glaze cake. It was at my daughter’s birthday, years ago, when a friend brought in this shimmering, jewel-toned dessert that looked more like art than food. Everyone gasped. The kids leaned in close, their eyes wide, whispering that it looked like glass. For me, it was more than a cake—it was a reminder that even in the middle of life’s chaos, we can still make space for wonder. That day, I promised myself I’d learn how to make one. It wasn’t about perfection, it was about giving my family that same stunning moment of joy at the table.
Why Mirror Glaze Cake Recipes Work
Mirror glaze cakes aren’t just about beauty—they hold a balance of texture, science, and joy. Here’s why these recipes are worth trying at home:
A Dessert That Doubles as Art
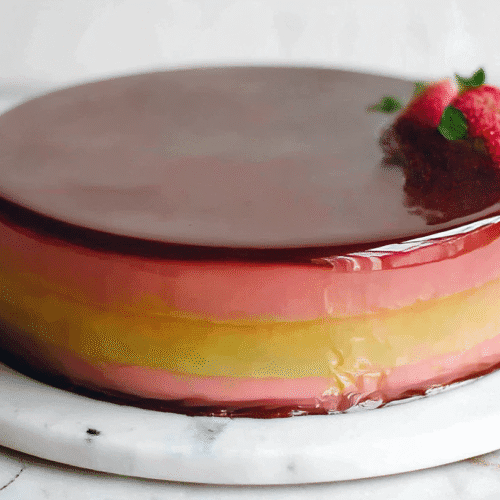
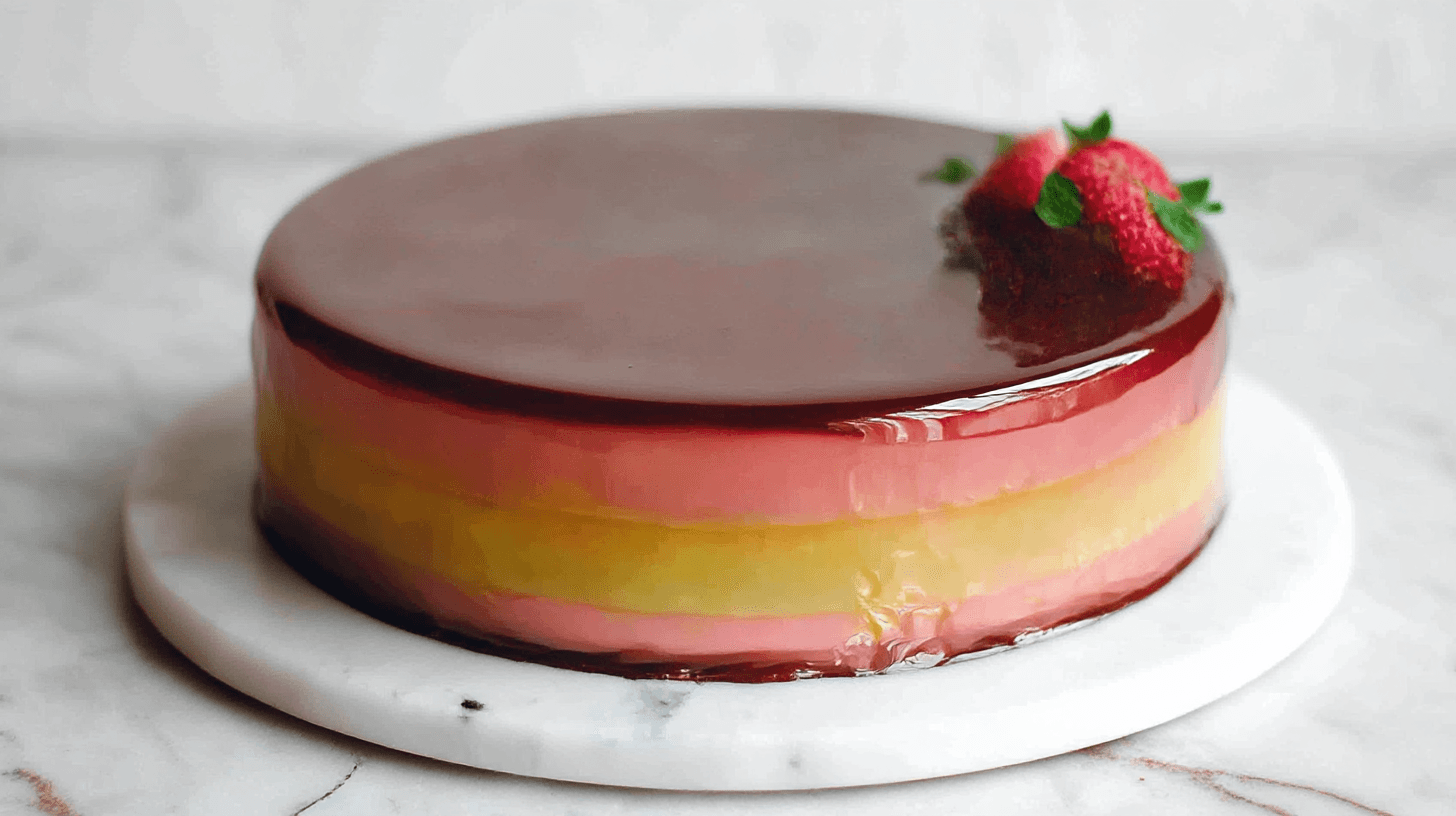
Mirror glaze cake recipes give you a surface so shiny, you’ll see your reflection in it. That smooth, reflective look comes from gelatin and sugar working together to form a flawless finish.
Accessible Yet Luxurious
Though they look intimidating, these cakes use simple pantry ingredients—sugar, cream, gelatin, and chocolate. The magic is in the technique, not in expensive supplies.
Perfect for Celebrations
From birthdays to weddings, a mirror glaze cake turns dessert into an event. Even a simple sponge underneath can feel like a grand finale.
Flexible Flavors
You can pour a glaze over mousse cakes, cheesecakes, or layered sponges. Each one absorbs the glossy topping differently, creating endless possibilities.
Ingredients for the Glaze (with Swaps)
Core Ingredients
- Gelatin (powder or sheets) – Creates the structure and shine.
- Sugar – Provides sweetness and helps stabilize the glaze.
- Sweetened condensed milk – Adds body and creaminess.
- White chocolate – The base for flavor and color.
- Heavy cream – Smooth texture and richness.
- Food coloring – Gel or powdered works best for bold colors.
Optional Flavor Boosts
- Vanilla extract or paste
- Espresso powder for mocha glaze
- Fruit purées for natural coloring
Ingredient Swaps
- Dairy-free option: Swap condensed milk with coconut cream.
- Vegan option: Use agar-agar instead of gelatin (texture is slightly less elastic).
- Chocolate swap: Dark or milk chocolate instead of white for a richer, deeper shine.
Step-by-Step Instructions
Step 1: Bloom the Gelatin
Sprinkle gelatin over cold water and let it sit for 5 minutes. This ensures it dissolves evenly later.
Step 2: Heat Sugar, Condensed Milk, and Cream
In a saucepan, combine sugar, condensed milk, and cream. Heat gently until just simmering.
Step 3: Melt White Chocolate
Place chopped white chocolate in a large bowl. Pour the hot mixture over it and stir until melted and smooth.
Step 4: Add Gelatin
Stir bloomed gelatin into the hot chocolate mixture until dissolved completely.
Step 5: Add Color
Divide glaze into bowls if making multiple colors. Stir in gel or powdered coloring.
Step 6: Cool the Glaze
Let glaze cool to about 90°F (32°C). Too hot, and it melts the cake; too cool, and it won’t spread.
Step 7: Pour Over Cake
Place frozen cake on a wire rack set over a tray. Pour glaze in steady streams, letting it cascade down.
Step 8: Clean and Serve
Trim drips with a warm knife. Transfer cake to serving plate and let it thaw before slicing.
The Culinary Science Behind the Shine
The Gelatin Effect
Gelatin sets into a thin, elastic layer that reflects light. This is what creates the mesmerizing shine.
The Temperature Sweet Spot
At around 90°F, glaze is fluid enough to spread but thick enough to cling. Temperature control is everything.
White Chocolate as a Canvas
White chocolate absorbs colors beautifully, making it the perfect base for bold or pastel shades.
Frozen Cakes Are Key
Pouring over a frozen cake allows the glaze to set instantly, preventing streaks or uneven coverage.
Why Condensed Milk Matters
It adds body and prevents the glaze from becoming brittle when chilled.
Variations and Real-Life Adaptations
Galaxy Mirror Glaze
Swirl black, purple, and blue glazes together. Add edible glitter for a cosmic look.
Fruit Purée Glaze
Replace part of the condensed milk with mango or raspberry purée for natural flavor and color.
Ombre Glaze
Pour layers of the same color in gradients—light to dark—for a breathtaking finish.
Holiday Glaze
Use red and green swirls for Christmas, or pastel tones for Easter.
Kid-Friendly Version
Skip the gelatin and use a shiny ganache for a quick, stress-free finish.
Common Mistakes (and Fixes)
Glaze Too Thin
Cause: Not enough gelatin.
Fix: Add an extra half-teaspoon of bloomed gelatin.
Glaze Not Shiny
Cause: Overheated or under-mixed chocolate.
Fix: Use a stick blender (without air bubbles) for a silky texture.
Cake Showing Through
Cause: Cake not frozen.
Fix: Always glaze over a frozen cake to lock in shine.
Streaky Colors
Cause: Mixing colors too aggressively.
Fix: Swirl gently for marble effects instead of stirring hard.
Glaze Sliding Off
Cause: Cake too warm.
Fix: Keep cake in freezer at least 4 hours before glazing.
Frequently Asked Questions
How long does a mirror glaze cake last?
Up to 3 days in the fridge. Cover lightly with plastic wrap.
Can I freeze a glazed cake?
Yes, but the glaze may lose some shine. Best to freeze the cake first, glaze later.
Do I need special food coloring?
Gel or powdered colors work best. Liquid colors can thin the glaze.
Can I use dark chocolate instead of white?
Yes, but the colors will be muted since dark chocolate alters the tone.
Why is my glaze bubbly?
Air bubbles form when mixing too quickly. Use a stick blender under the surface to remove them.
Final Encouragement
Listen—making a mirror glaze cake isn’t about being flawless. It’s about the thrill of creating something that stops people in their tracks, even for a moment. It’s about handing your child, your partner, or your friend a slice that glows under the kitchen light, and seeing their face light up in return. Don’t worry if your first glaze has a few ripples. That shine will still whisper: “Someone made this with love.” And that, more than perfection, is the memory that lasts.

Homemade Mirror Glaze Cake
Equipment
- Saucepan
- Mixing Bowls
- Stick Blender
- Wire Rack and Tray
Ingredients
Core Glaze Ingredients
- 2 1/2 tbsp gelatin powder or 4 sheets
- 1/2 cup cold water for blooming gelatin
- 1 1/2 cups granulated sugar
- 2/3 cup sweetened condensed milk
- 3/4 cup heavy cream
- 14 oz white chocolate finely chopped
- gel or powdered food coloring as desired
Optional Flavor Boosts
- 1 tsp vanilla extract
- 1 tsp espresso powder for mocha flavor
- 1/2 cup fruit purée for natural flavor and coloring
Instructions
- Bloom gelatin by sprinkling over cold water. Let sit for 5 minutes.
- In a saucepan, heat sugar, condensed milk, and cream until just simmering.
- Place chopped white chocolate in a bowl. Pour hot mixture over and stir until smooth.
- Stir bloomed gelatin into hot chocolate mixture until dissolved completely.
- Blend with a stick blender until silky, keeping blade under surface to avoid bubbles.
- Divide glaze if making multiple colors. Stir in gel or powdered coloring.
- Cool glaze to about 90°F (32°C).
- Place frozen cake on a wire rack over tray. Pour glaze steadily over cake, letting it cascade down sides.
- Trim drips with a warm knife. Transfer cake to serving plate and thaw before slicing.

