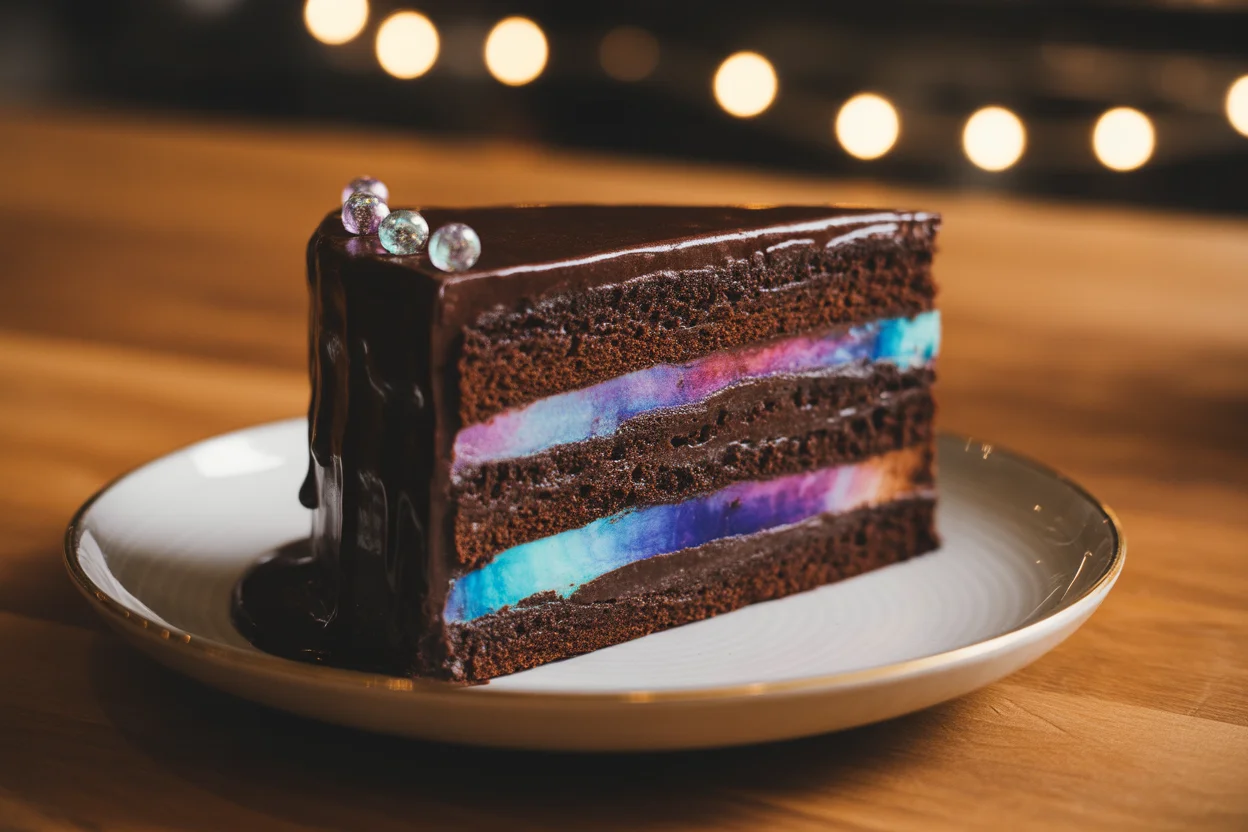
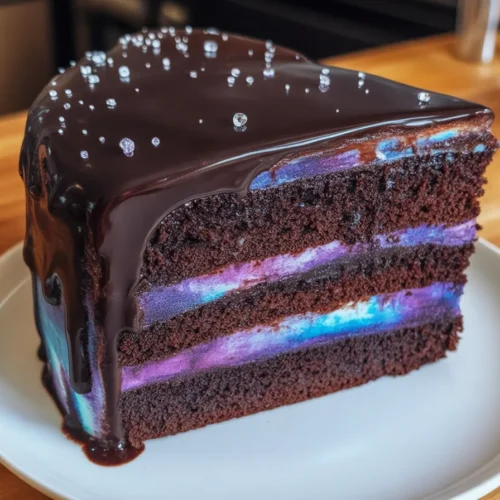
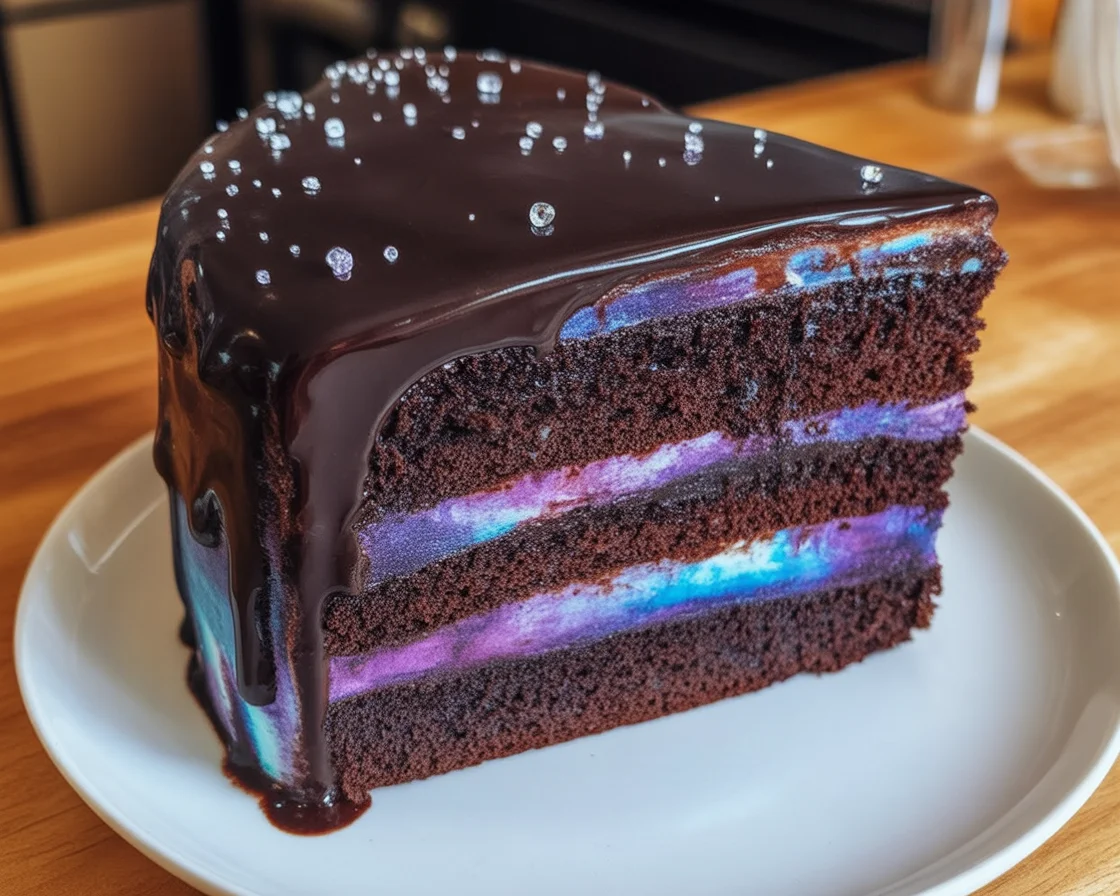
Mirror Glaze Cake Design can be confusing. I remember seeing those shiny, swirly cakes all over social media and thinking, “There’s just no way I could ever pull that off in my own kitchen.” I mean, really, how do they get that super reflective surface? Does it actually taste good, or is it all show? (Turns out, it really is both!) If you’ve been hesitating, let’s talk about it honestly. I’ll break it down, easy-style, with my favorite tricks.

What is Mirror Glaze?
So, first things first: what’s going on with Mirror Glaze? Basically, it’s a glossy, pourable coating that gives cakes that magical, glass-like look. Think of it as edible liquid glass. It started out in French pastry shops (they take cake seriously over there).
I used to think it was some impossible secret only professional bakers got access to. But here’s the thing: it’s not complicated if you’ve got a little patience and the right tips in your back pocket. Plus, once you do it—seriously, prepare for people to freak out and ask, “Did you really make that?” So, if you want your next cake to look straight out of a five-star restaurant (yes, really), mirror glaze is your new best friend.
What is Mirror Glaze made of?
Alright, let’s bust some myths. Mirror glaze is mostly made with basic stuff: stuff I actually had at home, which shocked me the first time I tried this.
You’ll use sweetened condensed milk for creaminess and shine. Next is white chocolate, which helps thicken it and keep things smooth. Then, you’ll dissolve gelatin in water. Gelatin does the actual magic, turning your glaze from a runny mess into a silky sheet that perfectly hugs your cake. A bit of sugar and sometimes glucose syrup are tossed in for sweetness and stickiness. Plus, a splash of water and some food coloring (the bright stuff is half the fun).
Don’t let all these words trip you up. Honestly, once everything’s in the bowl and melting together, you’ll think, “Wait, that’s it?”
How to Mirror Glaze a Cake
Okay, real talk: the first time you do this, have a towel handy. It’s a little messy, but actually pretty fun.
First, you’ll want your cake frozen solid. Yup, not just cold—freezer cold. That way, the glaze sets FAST and doesn’t escape down the sides like a waterfall. Put your cake up on a rack with a tray (to catch the drips).
Gently pour your colored glaze over the top…watch it slide down the sides. (It’s weirdly satisfying.) You can swirl different colors together, move the cake around, tilt it—get artsy with it. After about ten minutes, you’ll notice it starts to set and shine.
And don’t worry if it isn’t absolutely perfect. Honestly, half the fun is the surprise at how each cake comes out. My first one looked more like a tie-dye shirt, but my family still oohed and aahed.
Tips for Making the Best Mirror Glaze Cake
Here’s some random advice you’ll actually use—stuff I wish someone had told me before my first mirror glaze cake:
- Make sure your cake is smooth and frozen, or the glaze will show EVERY bump. Yikes.
- Strain your glaze before pouring to catch any lumpies…unless you want accidental “texture” (not cool).
- Work fast! The glaze sets quicker than you’d think.
- If you’re swirling colors, don’t go too wild or you’ll end up with one messy brown. Less is more.
Trust me, these are little adjustments that make a massive difference.
“As a total beginner, I used your guide and my friends thought I’d bought the cake at a bakery. Seriously, never had so many compliments!” —Janelle, real person who was freaked out by cake glazing
Best Cake and Frosting for Mirror Glazes
So, you’re set on doing a mirror glaze. Pause for a sec: What kind of cake works best? The truth is, you want a super-smooth cake, nothing fluffy or with big crumbs. Mousse cakes and cheesecakes are winners. If you want to use a classic yellow or chocolate cake, give it a thick crumb coat with something like ganache or a really smooth buttercream first—it needs that slick surface.
Frosting matters too. You definitely want it cold and firm. If your frosting gets melty, the glaze turns into a puddle. I actually like to chill my cakes overnight—makes the next steps feel waaay less stressful. Oh, and skip the cake decorations on top until after glazing! Otherwise, they’ll float away.
Common Questions
Q: Can you make mirror glaze ahead of time?
A: Yes! Keep it in the fridge, then gently reheat (don’t boil it!) when you’re ready to use.
Q: Does mirror glaze taste good or just look pretty?
A: No joke, it’s sweet and creamy. You actually get that chocolate and milk flavor—it’s not just for looks.
Q: My glaze is lumpy. What happened?
A: Most likely, the gelatin didn’t dissolve all the way, or you didn’t strain it before pouring.
Q: Can I use any food coloring?
A: Gel or powder colors are best. Liquid ones can mess with the texture—ask me how I know, sigh.
Q: How long does a mirror glaze cake last?
A: About 2-3 days in the fridge. After that, the shine may start to fade but it’ll still taste good.
Ready to Make Your Kitchen Shine?
Alright, here’s the real secret: mirror glaze cake design is totally doable at home. You don’t need crazy skills—just a sense of adventure, a bit of patience, and a willingness to laugh at your first try. The biggest tip is to just try it out. If you want more details or step-by-step videos, check out these helpful mirror glaze tutorials. Trust me, once you pull off that first glossy cake, you’ll want to mirror glaze everything in sight. Happy glazing, and don’t forget to have fun in the mess!

Mirror Glaze Cake
Equipment
- Saucepan
- Whisk
- Fine Mesh Strainer
- Thermometer
- Blender or Immersion Blender
- Wire Rack and Sheet Pan
Ingredients
Mirror Glaze
- 1 can sweetened condensed milk (14 oz / 396g)
- 12 oz white chocolate chopped
- 1/2 cup water divided
- 2 1/2 tsp unflavored gelatin powder
- 1 cup granulated sugar
- 1/2 cup glucose syrup or corn syrup
- gel food coloring various colors
Instructions
- Bloom the gelatin: In a small bowl, sprinkle gelatin over 1/4 cup of water and let sit for 5 minutes.
- In a saucepan, combine sugar, glucose syrup, and the remaining 1/4 cup water. Heat over medium heat until just simmering.
- Remove from heat and whisk in bloomed gelatin until fully dissolved.
- Add sweetened condensed milk and chopped white chocolate. Let sit for 1–2 minutes, then blend until smooth and glossy.
- Divide and color glaze as desired using gel food coloring. Let cool to 90°F (32°C) before pouring.
- Place frozen, smooth cake on a wire rack over a tray. Pour glaze slowly over center of cake and let it coat the sides.
- Let glaze set for 10–15 minutes. Transfer cake to serving plate and chill until ready to serve.

