Few desserts are as stunning and mesmerizing as a mirror glaze cake. With its flawless, glass-like finish, this style of cake decoration has become a favorite for special occasions and elegant celebrations. Mirror glaze cake decoration may look complicated, but with the right ingredients, tools, and a little practice, anyone can create a show-stopping cake that’s as impressive as it is delicious.
What Is Mirror Glaze Cake Decoration?
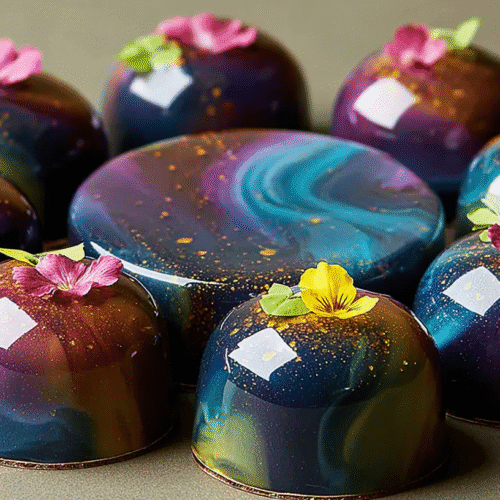
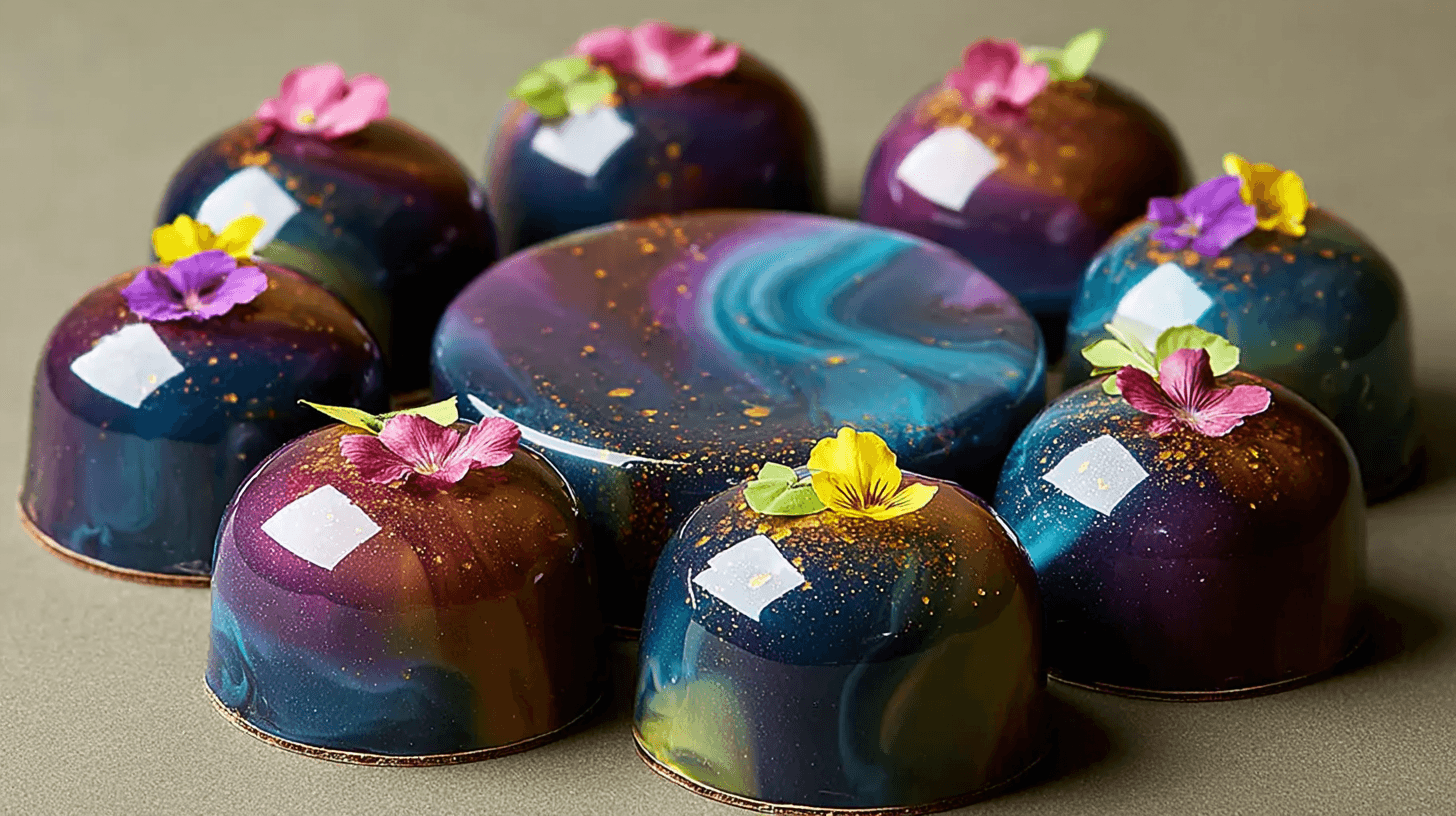
Mirror glaze cake decoration involves pouring a shiny glaze over a chilled cake to create a reflective, mirror-like surface. The glaze is typically made from gelatin, sugar, water, condensed milk, and white chocolate, which combine to create that glossy sheen. Food coloring is then added for stunning effects, from solid jewel tones to swirling galaxy patterns.
Why Choose Mirror Glaze Cake Decoration?
Mirror glaze cakes are more than just desserts — they’re edible art. Here’s why they’re so popular:
- Visually striking: The high-shine finish reflects light beautifully.
- Customizable: Endless possibilities with colors, swirls, and designs.
- Perfect for celebrations: A stunning centerpiece for birthdays, weddings, and holidays.
- Professional finish at home: Achievable with practice and simple tools.
Key Ingredients for Mirror Glaze
To achieve the perfect shine, you’ll need:
- White chocolate: Forms the base of the glaze.
- Sweetened condensed milk: Adds creaminess and helps with smoothness.
- Gelatin: Provides structure and the signature reflective finish.
- Sugar and water: For sweetness and consistency.
- Food coloring: Gel or powdered colors work best for vibrant shades.
Tools You’ll Need
- Candy thermometer
- Mixing bowls
- Fine mesh strainer
- Immersion blender
- Cooling rack or stand for the cake
- Spatula for smoothing
Step-by-Step Guide to Mirror Glaze Cake Decoration
Step 1: Prepare the Cake
The cake should be fully frosted with buttercream or mousse and frozen solid. A cold surface helps the glaze set quickly.
Step 2: Make the Glaze
Heat sugar, water, and condensed milk. Stir in bloomed gelatin until dissolved. Pour the hot mixture over chopped white chocolate and blend until smooth. Strain to remove air bubbles.
Step 3: Add Color
Divide the glaze into bowls and add food coloring. You can use one color or multiple for a marbled effect.
Step 4: Pour the Glaze
Place the frozen cake on a cooling rack over a tray. Pour the glaze from the center outward, letting it flow naturally over the sides.
Step 5: Finish the Look
Allow the glaze to drip off, then trim the edges. Decorate with edible glitter, gold leaf, or chocolate decorations for extra flair.
Creative Ideas for Mirror Glaze Cake Decoration
- Galaxy Cake: Use dark blue, purple, and black glazes with white splatter for a cosmic effect.
- Marble Design: Swirl black, white, and gray glaze for a stone-like finish.
- Pastel Ombre: Blend soft pink, lavender, and mint for a dreamy look.
- Holiday Themes: Red and green for Christmas, orange and black for Halloween, or red and gold for Valentine’s Day.
Common Mistakes to Avoid
- Cake not cold enough: The glaze won’t set properly.
- Air bubbles in the glaze: Strain and use an immersion blender carefully.
- Wrong temperature: Glaze should be about 90°F when poured — too hot and it melts, too cool and it clumps.
- Rushing the pour: Slow and steady gives the smoothest results.
Tips for Success
- Always glaze on a clean surface to avoid dust or crumbs.
- Use high-quality white chocolate for the best shine.
- Practice with small cakes before attempting a tiered showpiece.
- Store glazed cakes in the fridge, uncovered, to maintain the glossy effect.
Final Thoughts
Mirror glaze cake decoration is a beautiful way to elevate your baking skills and impress your guests. With its smooth, reflective surface and endless design options, it’s the ultimate show-stopper for any occasion. Once you master the technique, you’ll be able to create cakes that look like they belong in a high-end bakery — right from your own kitchen.

Mirror Glaze Cake Decoration
Equipment
- Candy Thermometer
- Mixing Bowls
- Fine Mesh Strainer
- Immersion Blender
- Cooling Rack
- Spatula
Ingredients
Mirror Glaze
- 14 oz white chocolate finely chopped
- 1 cup sugar
- 1/2 cup sweetened condensed milk
- 1/2 cup water for sugar syrup
- 2 1/2 tbsp powdered gelatin bloomed in 1/4 cup water
- gel or powdered food coloring as desired for design
Instructions
- Prepare your cake: Frost with buttercream or mousse and freeze until solid. This ensures the glaze sets properly.
- In a saucepan, heat sugar, water, and condensed milk until hot but not boiling.
- Stir in bloomed gelatin until completely dissolved.
- Pour hot mixture over chopped white chocolate. Blend with an immersion blender until smooth, then strain to remove air bubbles.
- Divide glaze into bowls and add food coloring. Swirl colors together gently for marbled or galaxy effects if desired.
- Allow glaze to cool to about 90°F (32°C). Place frozen cake on a cooling rack over a tray and pour glaze from the center outward, letting it flow naturally over the sides.
- Trim drips, decorate with edible glitter, gold leaf, or chocolate pieces, and transfer to serving plate.

