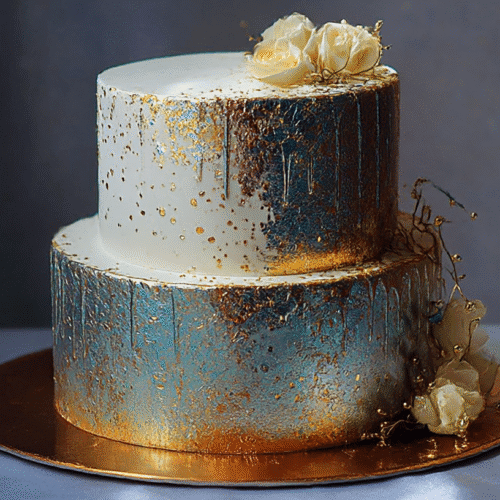
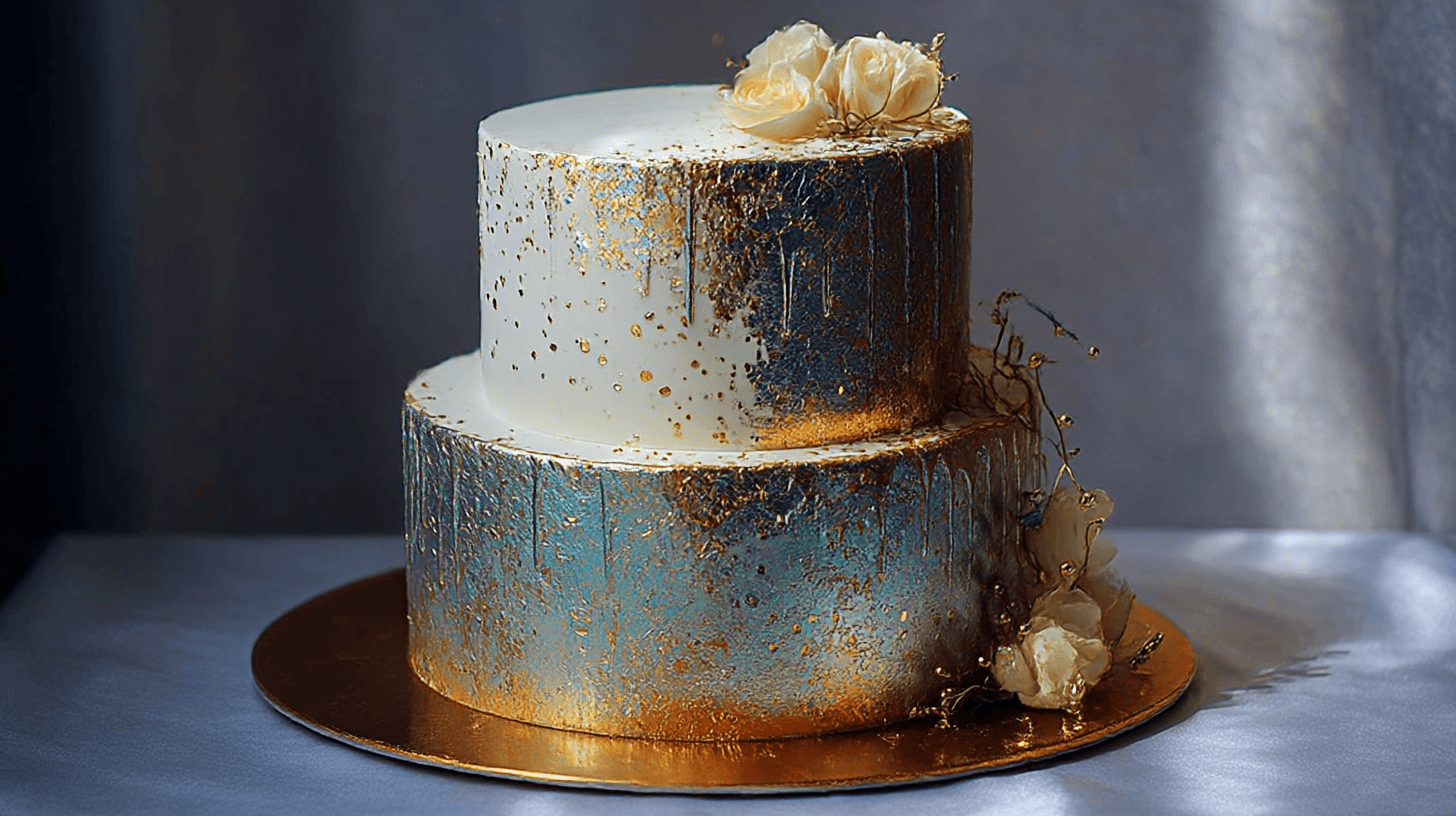
I remember the first time I made a Metallic Cake—it was for my sister’s engagement party. I was nervous because it looked like something only a bakery could pull off, but I wanted her to feel thrilled on her big day. When I carried that shimmering cake into the room, everyone gasped, and I felt so grateful to have created something that sparkled almost as much as her smile. It wasn’t about perfection; it was about love baked into every layer.
Why This Metallic Cake Works
The eye-catching finish
The real magic of Metallic Cake is in its look. With just a few simple tools, you can turn an ordinary frosted cake into a showpiece that gleams under the lights. Guests can’t help but lean closer, wondering if it’s even edible.
Flavor that balances beauty
While the shine is impressive, the flavor keeps everyone coming back for another slice. A moist, buttery cake paired with a smooth frosting gives a satisfying bite that doesn’t overwhelm with sweetness.
Crowd-pleasing for special events
Metallic Cake feels like the perfect centerpiece for weddings, birthdays, or anniversaries. It adds that Amazing touch that turns a regular gathering into something memorable. People may forget the flowers, but they’ll remember the shimmering cake.
Ingredients You’ll Need
Core ingredients for the cake base
- 2 ½ cups all-purpose flour
- 2 ½ teaspoons baking powder
- ½ teaspoon salt
- 1 cup unsalted butter, softened
- 2 cups sugar
- 4 large eggs
- 1 tablespoon vanilla extract
- 1 cup whole milk
Metallic effect tools & edible paints
- Edible metallic dust or food-safe metallic paint (gold, silver, or rose)
- Clean food-grade brushes for painting or dusting
- Offset spatula for smoothing frosting
- Optional: Fondant if you want an ultra-smooth surface
Easy substitutions if needed
Flour swap: Use a gluten-free all-purpose blend if needed
Buttermilk alternative: Mix 1 cup milk with 1 tablespoon lemon juice or vinegar
Butter alternative: Use salted butter and reduce added salt slightly
Dairy-free option: Substitute almond milk or oat milk and vegan butter
How to Make Metallic Cake Step by Step
- Preheat and prepare pans. Grease and line your cake pans to avoid sticking. A smooth release makes decorating easier later.
- Mix the batter. Cream butter and sugar until fluffy, then add eggs one at a time. Alternate flour with milk until smooth.
- Bake until golden. A toothpick should come out clean. Cool completely before frosting—heat will ruin the metallic finish.
- Frost evenly. Apply a crumb coat first, chill, then spread the final layer. Smooth sides and top with a spatula.
- Apply metallic finish. Use a clean brush to dust or paint the edible metallic color over the chilled frosting. This is where Metallic Cake earns its name.
- Add finishing touches. Consider simple accents—fresh flowers, piped borders, or a cake topper—to balance the shine.
The Science Behind Metallic Cake
Why edible metallic dust adheres to frosting
Chilled buttercream holds the dust because fat provides a stable surface for color to cling to without dissolving.
Balancing sweetness with shimmer
The dust doesn’t add flavor, so the cake must carry its taste from quality vanilla, chocolate, or citrus extracts. This ensures that beauty and flavor live side by side.
How texture supports the design
A smooth, chilled surface makes metallic application seamless. Any lumps or air bubbles will show through the finish.
The role of layering in stability
Stacking with supports keeps the cake from sagging. A metallic shine highlights every curve—so stability is crucial.
Flavor vs. finish: striking a balance
The metallic sheen is all about looks, but a cake that tastes flat is a disappointment. Using real butter and fresh ingredients keeps flavor strong beneath the shimmer.
Variations of Metallic Cake for Real Life
Mini cupcakes with metallic touch
Bake bite-sized versions, frost them lightly, and brush the tops with metallic dust for an easy party treat.
Metallic drip cake for birthdays
Create a drip effect using edible metallic glaze that cascades over the sides—eye-catching and playful.
Gluten-free or dairy-free adjustments
Swap in gluten-free flour blends or non-dairy substitutes. The finish works exactly the same, so no one misses out.
Seasonal metallic colors (gold, rose, silver)
Match the metallic shade to your theme—gold for anniversaries, rose for bridal showers, silver for New Year’s Eve. Each one feels Unique and festive.
Mistakes to Avoid When Making Metallic Cake
Overpainting or streaky finish
Applying too much metallic paint makes the cake look messy. Thin, even layers are best.
Frosting too soft to hold metallic dust
If your buttercream is warm, the dust will smear. Always chill before decorating.
Choosing the wrong food paint
Not all shimmer powders are edible. Double-check labels to confirm food-safe use.
Dry cake under glossy finish
Don’t let appearance fool you. A Metallic Cake must taste as good as it looks, so don’t skip moistening syrups or careful baking.
FAQs About Metallic Cake
Can you eat metallic cake paint safely?
Yes, as long as you’re using food-grade metallic dust or paints labeled edible. Decorative-only products should never touch a cake meant to be eaten.
How far ahead can I make this cake?
You can bake the layers a day or two in advance and frost the same day you plan to serve. Apply metallic finish within 24 hours for the best shine.
What’s the best frosting for metallic dust?
A firm buttercream or fondant works best. Soft whipped cream or cream cheese frosting doesn’t provide the smooth base needed for metallic decoration.
Cake That Shines With Memories
What I love most about this recipe isn’t just the shimmer—it’s the joy on people’s faces when they see it. A Metallic Cake carries hope and happiness to the table. Whether it’s for a milestone or just because, baking this cake reminds us that beauty and flavor can live together. And sometimes, the best memories are the ones that shine brightest.


