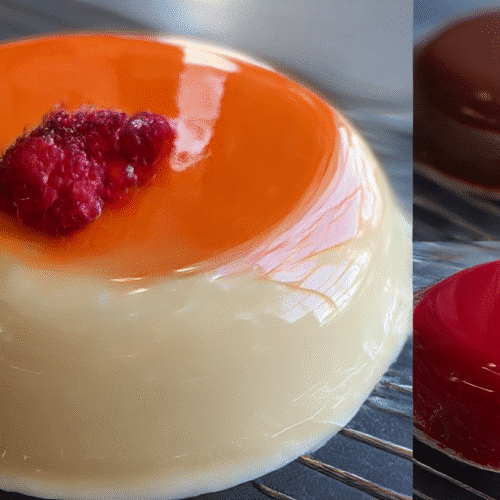
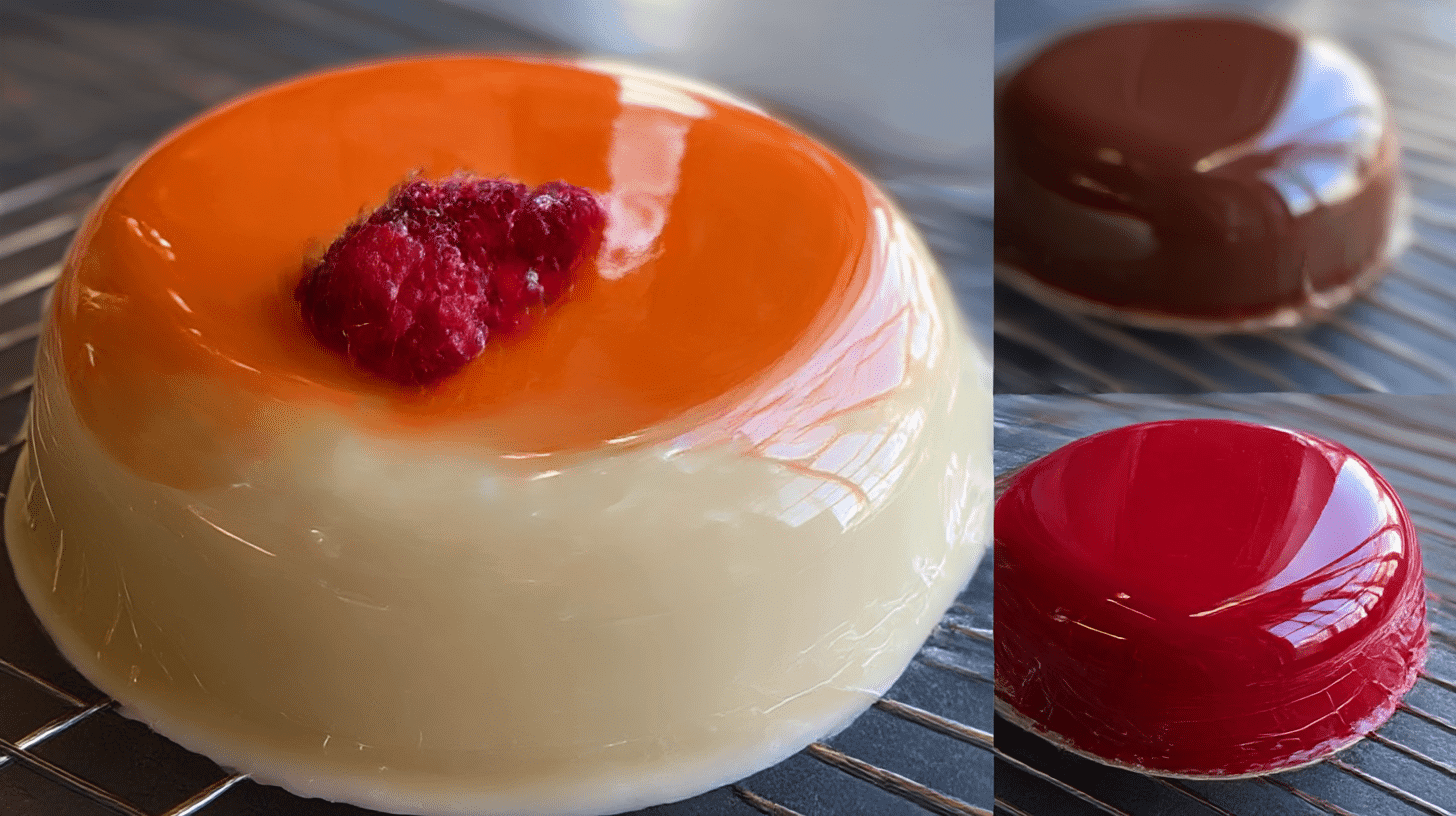
I’ll never forget the first time I made a mirror glaze. It was my daughter’s birthday, and I wanted her cake to shine as brightly as she did. I had no idea what I was doing, but there I was in my kitchen, chocolate melting, sugar bubbling, and my heart racing. When I finally poured that silky glaze over the cake, I nearly cried. It wasn’t perfect, but it was beautiful in its own way. That moment reminded me that baking isn’t about flawlessness—it’s about creating joy. Recipes like this are little reminders that even when life feels messy, there can still be moments of reflection and shine.
Why This Easy Mirror Glaze Recipe Works
Glossy Finish Without Fuss
This recipe skips the complicated steps and hard-to-find ingredients. You still get that shiny, reflective surface without needing pastry school training. The magic comes from the gelatin and sugar working together to form a smooth, glass-like coating.
Beginner-Friendly, Expert-Approved
First-time bakers love its simplicity, while experienced ones enjoy customizing it with bold colors or unique flavors. No matter your skill level, it gives dependable results every time.
Texture That Lasts
Nobody wants a glaze that slides off or turns dull in a few hours. Here, gelatin provides stability, sugar creates shine, and chocolate adds richness. Together, they make a glaze that sets firmly without cracking or drooping.
Room for Creativity
Mirror glaze is more than just a topping—it’s a canvas. Keep it elegant with dark chocolate or have fun with pastel swirls. Each cake becomes a chance to play with imagination and design.
Ingredients and Swaps
Core Ingredients
- 1 cup granulated sugar
- ½ cup sweetened condensed milk
- ½ cup water
- 2 ½ teaspoons powdered gelatin
- ½ cup water (for blooming gelatin)
- 7 ounces white chocolate, finely chopped
- Gel food coloring of choice
Optional Additions
- 1 teaspoon vanilla extract for subtle sweetness
- ½ teaspoon almond extract for a nutty undertone
- Pinch of salt to balance flavor
Swaps for Dietary Needs
- Dairy-Free: Use coconut condensed milk and dairy-free white chocolate.
- Sugar Alternatives: Replace with a blend of honey and maple syrup, though shine may be slightly reduced.
- Vegan: Use agar agar instead of gelatin, but note that texture may be slightly different.
Cooking Instructions
Step 1: Bloom the Gelatin
Sprinkle gelatin over ½ cup cold water in a small bowl. Let it sit for 5–10 minutes until it swells and softens. This step ensures the gelatin melts smoothly into the glaze later.
Step 2: Heat the Syrup
In a medium saucepan, combine sugar, sweetened condensed milk, and ½ cup water. Stir gently over medium heat until sugar dissolves completely. This creates the sweet base that gives mirror glaze its signature shine.
Step 3: Add Gelatin
Remove syrup from heat. Stir in bloomed gelatin until fully dissolved. Gelatin is what helps the glaze set with that glossy, glass-like finish.
Step 4: Melt Chocolate
Place chopped white chocolate in a large heatproof bowl. Pour the hot syrup mixture over the chocolate. Let sit for 3 minutes, then stir until smooth and fully melted.
Step 5: Blend for Smoothness
Use an immersion blender to fully emulsify the mixture. Hold the blender at an angle to avoid creating bubbles. A smooth blend prevents streaks and clumps in the final glaze.
Step 6: Add Color
Stir in gel food coloring as desired. Swirl two or three colors together for a marbled look, or stick with one bold shade for a dramatic effect.
Step 7: Cool and Pour
Let glaze cool to 95°F before pouring. Too hot, and it melts your cake’s frosting; too cold, and it won’t spread smoothly. Pour over a fully chilled, frosted cake set on a wire rack.
Step 8: Let It Set
Allow glaze to drip and settle for at least 10 minutes. Trim excess drips before moving cake to a serving plate. The surface should now reflect like glass.
Why It Works Scientifically
Gelatin’s Magic
Gelatin creates the elasticity that keeps the glaze flexible yet firm. Without it, the glaze would harden unevenly or slide right off.
Sugar’s Shine
Sugar syrup contributes the glass-like sheen by crystallizing at the right temperature. It locks in gloss while preventing dullness.
Chocolate’s Role
White chocolate not only adds richness but also acts as a stabilizer. Its cocoa butter smooths out the mixture and enhances the reflective surface.
Temperature Balance
Cooling the glaze to exactly 95°F ensures it flows perfectly. Too warm, and the cake melts; too cold, and it sets before spreading.
Smooth Blending
The immersion blender is key because it prevents lumps and incorporates the fats evenly. This step transforms an ordinary glaze into that jaw-dropping finish.
Variations and Adaptations
Chocolate Mirror Glaze
Swap white chocolate with dark chocolate for a rich, moody glaze that looks stunning on flourless cakes.
Rainbow Marble Effect
Divide glaze into separate bowls, color each one, then swirl together gently before pouring. This creates a playful, hypnotic design that delights kids and adults alike.
Holiday Twist
Tint glaze red and green for Christmas, pastel for Easter, or orange and black for Halloween. Mirror glaze is a canvas for seasonal creativity.
Flavor Infusions
Steep lavender, coffee, or citrus zest in the syrup before adding gelatin. These subtle flavors peek through without disrupting the glossy look.
Mini Desserts
Don’t limit mirror glaze to cakes. Try it on petit fours, cupcakes, or even doughnuts for a unique and memorable presentation.
Common Mistakes and Fixes
Mistake 1: Glaze Too Thick
If glaze seems heavy and doesn’t spread, it cooled too much. Rewarm gently until it reaches the right temperature.
Mistake 2: Bubbles in the Glaze
Air bubbles ruin the smooth finish. Keep the immersion blender angled and avoid whisking. Strain glaze through a sieve before pouring to fix.
Mistake 3: Sliding Off Cake
If the glaze doesn’t stick, the cake wasn’t cold enough. Always chill cake in the freezer for at least 30 minutes before glazing.
Mistake 4: Dull Surface
If glaze looks cloudy, sugar wasn’t dissolved completely. Stir syrup carefully during the heating stage until grains disappear.
Mistake 5: Uneven Color
Over-mixing food coloring can muddy colors. For vibrant effects, swirl gently and resist stirring too much.
FAQ
Can I make mirror glaze ahead of time?
Yes. You can prepare it up to 3 days in advance, refrigerate, then gently rewarm to 95°F before pouring.
Does mirror glaze need to be refrigerated?
Yes, keep glazed cakes in the fridge. The glaze sets best when chilled and helps preserve the frosting underneath.
Can I freeze a mirror glazed cake?
It’s not recommended, as freezing dulls the glaze. Instead, freeze the frosted cake first, then glaze it fresh before serving.
How do I get a super shiny finish?
Use high-quality white chocolate, dissolve sugar completely, and blend without bubbles. These three steps guarantee maximum shine.
Can I color the glaze naturally?
Yes. Try beet juice for pink, matcha for green, or blueberry powder for purple. These add subtle flavors too.
Final Encouragement
Making a mirror glaze might seem intimidating at first, but once you try, you’ll realize it’s just about patience and practice. There’s something almost hypnotic about watching that liquid silk flow over a cake, turning it into a centerpiece. Don’t worry about perfection—your family and friends won’t be critiquing the sheen, they’ll be feeling the love you poured into it. The joy of baking is found in those little gasps of wonder when someone sees what you’ve made. And trust me, this recipe will give you that moment every time.

Easy Mirror Glaze
Equipment
- Medium saucepan
- Heatproof bowl
- Immersion Blender
- Fine sieve
- Wire Rack
Ingredients
Core Ingredients
- 1 cup granulated sugar
- 1/2 cup sweetened condensed milk
- 1/2 cup water
- 2 1/2 tsp powdered gelatin
- 1/2 cup cold water for blooming gelatin
- 7 oz white chocolate finely chopped
- gel food coloring of choice
Optional Additions
- 1 tsp vanilla extract optional, for sweetness
- 1/2 tsp almond extract optional, for nutty flavor
- 1 pinch salt optional, to balance flavor
Instructions
- Sprinkle gelatin over 1/2 cup cold water in a small bowl. Let sit 5–10 minutes to bloom.
- In a medium saucepan, combine sugar, condensed milk, and 1/2 cup water. Heat gently until sugar dissolves.
- Remove from heat and stir in bloomed gelatin until dissolved.
- Pour hot syrup over chopped white chocolate. Let sit 3 minutes, then stir until smooth.
- Blend with an immersion blender until fully smooth, holding blender at an angle to avoid bubbles.
- Add gel food coloring as desired. Swirl multiple colors for a marble effect.
- Cool glaze to 95°F before pouring over a chilled, frosted cake set on a wire rack.
- Let glaze drip and settle for 10 minutes. Trim excess before moving cake to a serving plate.

