Okay, real talk. Easy Mirror Glaze Recipe is the answer to every home baker who’s ever stood in the kitchen, staring at a lumpy iced cake and just wished it could look store-bought beautiful. Tell me you haven’t drooled over those ultra-glossy cakes in pastry shop windows? Feels a world away, right? Honestly, it’s not as mysterious as it looks. You’re about to see how simple (seriously, almost suspiciously easy) a stunning mirror finish can be. If I can do this without crying, you can too. Here’s everything you need to know, with all the weird pitfalls and wins I’ve tripped over myself.

What Is Mirror Glaze?
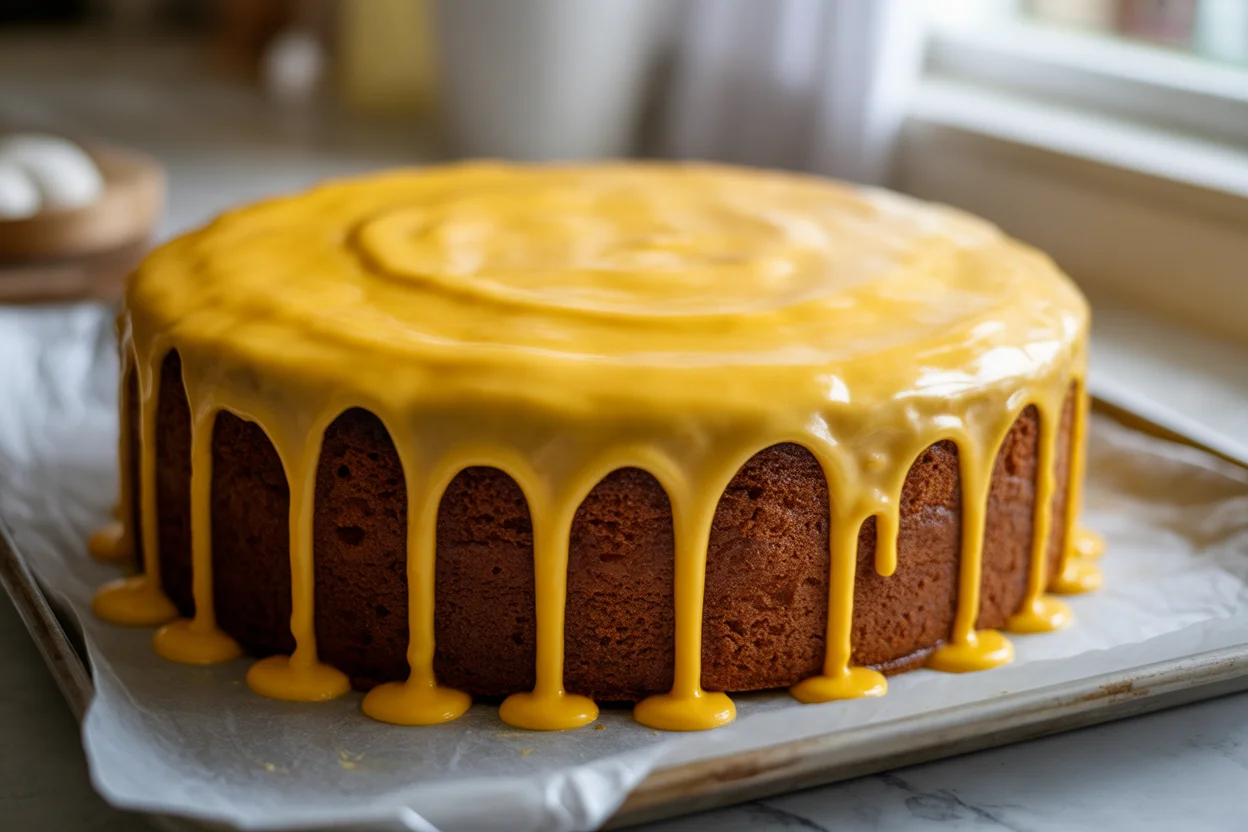
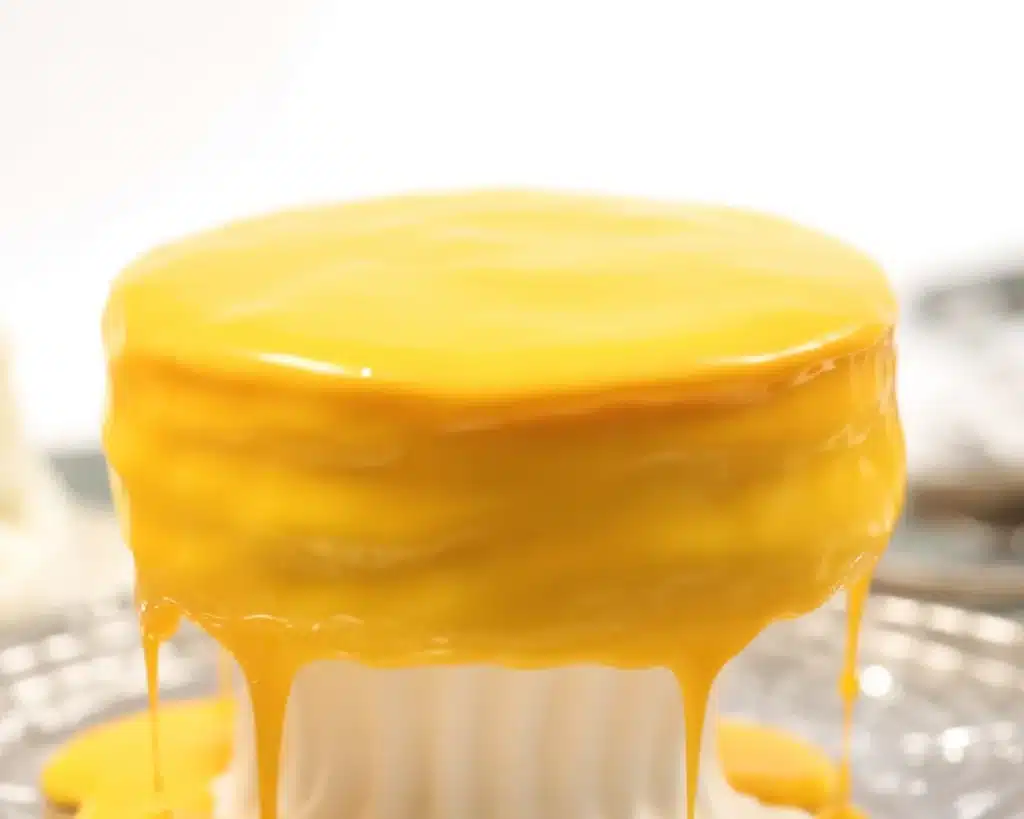
So what’s the deal with this shiny stuff? Mirror glaze is basically a pourable, high-gloss icing that transforms any cake—yep, even a boxed-mix one—into a total showstopper. The glossy finish is kinda wild, looks like glass, reflects light… Like, you’ll be staring at your own face in it. Made from simple ingredients, mostly gelatin, water, sugar, sweetened condensed milk, and white chocolate. Toss in splashy food coloring if you like drama (I always do). What makes it cool is you pour it on, and it sets super smooth. Here’s where I get excited: it covers all sorts of cake flaws—no need for perfect frosting underneath. And people legit gasp when you pull out a mirror glaze cake. The best part? It works on regular sponge, mousse cakes…even donuts, but that’s another story! Once you make it, beware: friends will ask for cake. All. The. Time.
Why Is This Recipe Easier Than a Normal Mirror Glaze?
Let’s spill the beans. Most mirror glaze recipes online? Honestly exhausting. Double boilers, superprecise temps, kitchen gadgets buzzing everywhere. With this easy mirror glaze recipe, you’re skipping all that fuss. This is ridiculously streamlined. It uses just basic stuff and only needs a microwave for melting. And if you have a thermometer, great, but if not, you’ll still win. Who has time to babysit a sugar syrup? Not me. My hack: cheat with sweetened condensed milk (makes it extra creamy and foolproof), fewer moving parts, fewer bowls. If you’re an “eyeball it” kind of baker, the easy mirror glaze recipe is your friend. The first time I tried it, I thought I’d mess up, but it worked just fine—so if you’re nervous, trust. Plus, if you mess up? It’s super forgiving. Scrape it off and try again. Not a biggie.
“Never thought I’d pull off a shiny cake, but this actually worked. My mom thought I bought it from a five-star restaurant!” – Marissa (real-life, cupcake-obsessed friend.
9 Tips For A Perfect Mirror Glaze Cake
Alright, here’s my greatest hits list for not screwing this up:
- Chill your cake hard—I mean, really, make it cold. Glaze sticks way better.
- Sift your cocoa or color powders so nothing gets lumpy. Lumps are not cool here.
- Don’t rush the glaze; wait ’til it’s just warm to the touch (not hot) before pouring, or it’ll melt your cake.
- If your glaze sits too long, a quick zap in the microwave fixes it.
- Start pouring in the middle and swirl out. It’s oddly satisfying and covers the whole thing way neater.
- Keep a baking tray under your cake to catch messy drips. Save that stress.
- If you see bubbles, pop with a toothpick or gently blow on them.
- Let it set ten minutes before trying to move the cake, trust me.
- Oh, and keep your kids or pets far away when pouring. Mine tried to “help” once—everywhere.
How To Store Mirror Glaze
So, what if you have leftovers—or you wanna prep ahead (raises hand)? After using the easy mirror glaze recipe, just scrape leftovers into a container. It hangs out in your fridge for about a week, easy. When you need it again, microwave in short bursts, stir well, and let it cool off until it’s barely warm, then pour. You can actually freeze it too—in an airtight bag or container—but it’s best used in a week for max shine. On a finished cake? Keep it in the fridge, uncovered if you want that glassy finish to stick around. But don’t let it get wet—humidity is its mortal enemy. It gets slimy… trust me.
Variations For Mirror Glaze
Here’s where you get to play mad scientist. Wanna jazz it up? After nailing the easy mirror glaze recipe, swap the white chocolate for dark or milk. Boom—choco glaze that’s both classy and tasty. Color? Go wild. Neon pink swirl or galaxy purple—just use gel food coloring for bold drama. Or toss in edible glitter, go all in for birthdays. Want a citrus punch? Add a dash of lemon or orange extract. Coffee lover? A spoonful of instant espresso powder livens it up. And if you’re feeling artsy, pour two glazes at once and marble them. If anybody says you “shouldn’t blend colors” for glaze, they don’t know fun. Honestly, every cake could be different. I sometimes do two cakes—one pastel, one bold—and let people pick their vibe at parties. Huge hit.
Common Questions
Q: Can I do the easy mirror glaze recipe without a thermometer?
A: Yep! Just let your glaze cool ’til it feels barely warm. If it’s steaming, it’s too hot for pouring.
Q: What kind of cakes work best with mirror glaze?
A: Any cake with a smooth surface. Chill first. Mousse cakes are ideal. Even cheesecake works.
Q: My glaze has bubbles! How do I fix it?
A: Pour slowly. Let it sit. Pop stubborn ones with a toothpick or gently exhale onto the glaze.
Q: How long does it stay shiny?
A: About one to two days in the fridge. After that, it’s still tasty but gets a matte look.
Q: Can I use regular milk instead of condensed?
A: Don’t. The easy mirror glaze recipe relies on the thickness and sugar in condensed milk for the right shine.
Ready To Wow Your Family With Zero Stress?
That’s the whole easy mirror glaze recipe, from my kitchen disasters to glossy wins. It really is that accessible. No need for pro pastry skills—just a sense of adventure and a craving for something pretty. If you want more cake-insider secrets, check the resources at Serious Eats or King Arthur Baking Company. So, go ahead. Make that cake shine, snap a thousand pics, and brag a little. If I can do it, honestly, you can too.

Easy Mirror Glaze Recipe
Equipment
- Microwave-safe bowl
- Whisk
- Fine sieve
- Measuring Cups
Ingredients
Glaze Base
- 150 g white chocolate chopped
- 200 g sugar
- 125 ml sweetened condensed milk about half a can
- 120 ml water for sugar syrup
- 10 g powdered gelatin about 1 tablespoon
- 60 ml water to bloom gelatin
- gel food coloring optional, any color
Instructions
- Bloom gelatin by sprinkling it over 60 ml (1/4 cup) cold water. Let sit 5 minutes.
- In a microwave-safe bowl, combine sugar, 120 ml water, and condensed milk. Heat until hot and sugar is dissolved.
- Add bloomed gelatin to the hot mixture and stir until dissolved.
- Pour hot mixture over chopped white chocolate. Let sit 2 minutes, then whisk until smooth.
- Add gel food coloring as desired and stir gently to avoid bubbles.
- Allow glaze to cool until just warm to the touch (about 32–35°C or 90–95°F).
- Pour glaze over a thoroughly chilled cake, starting in the center and moving outward. Let set 10 minutes before moving cake.

