- Ingredients and tools for decorating cakes with chocolate
- Techniques for decorating chocolate cakes
- Common mistakes to avoid when decorating
- Tips for achieving a professional finish
- Creative decorating ideas for chocolate cakes
- Common Questions
- Your Next Showstopper Awaits
Decorated Chocolate Cake is one of those things that looks really fancy, but honestly, it can feel so overwhelming when you actually try to start. Maybe you’ve been staring at all those glossy, perfectly piped cakes on Instagram, and you’re secretly worried your own version might end up looking like a sad pile of chocolate and regret. (Been there, trust me.) You want that “wow, did you really make that?!” kind of reaction, not “hmm, it tastes good though!” Let’s chat about how to make your chocolate cake look fun, easy, and yes, actually decorated. And no one needs pastry chef vibes to get it right.

Ingredients and tools for decorating cakes with chocolate
Alright. You cannot decorate a chocolate cake without, well, chocolate. Get a bar or good-quality chocolate chips. If you’ve got cocoa powder, it’ll help in the frosting too. You’ll need butter (real is best, sorry margarine fans), powdered sugar, and a splash of vanilla. Milk or heavy cream is handy if things need loosening up.
Tools? You really don’t need a shopping spree. Here’s the basics: an offset spatula (or even a butter knife in a pinch; no need to get fussy), a large spoon, a mixing bowl, some parchment paper (saves you from scrubbing cake crust later), and a stand mixer if you wanna get fancy. If you want piped stuff, grab a zip bag and snip the corner, or use a real piping bag if you’ve got one hanging around. A turntable is fab, but you can totally get by without one. Oh, and don’t forget a big plate or cake stand, unless you like the cake to slide around.
“I used Rachel’s tips for my nephew’s party and, honestly, the cake looked like I bought it. The ganache idea stunned my in-laws—and that’s saying something!” —*Jess, actual cake-fearer turned cake-doer*
| Tip Description | |
| Chill Your Cake | Let your cake cool completely before frosting to prevent melting. |
| Level Your Layers | Trim the tops of your cakes for equal layers to avoid leaning cakes. |
| Use Quality Ingredients | Opt for real butter and high-quality chocolate for better flavor. |
| Warm Your Tools | Warming your spatula can help get a smooth finish on your frosting. |
| Play with Toppings | Get creative with toppings like edible flowers, sprinkles, and cookies to enhance appearance. |
Techniques for decorating chocolate cakes
Here’s the part folks get tangled up in. The trick? Keep it simple! Start by letting your cake cool. (Really, let it cool, or you’ll have a meltdown literally.) Slap on a generous layer of frosting with your spatula. Don’t try to make it perfect from the start. Blob it on and spin the plate, smoothing as you go.
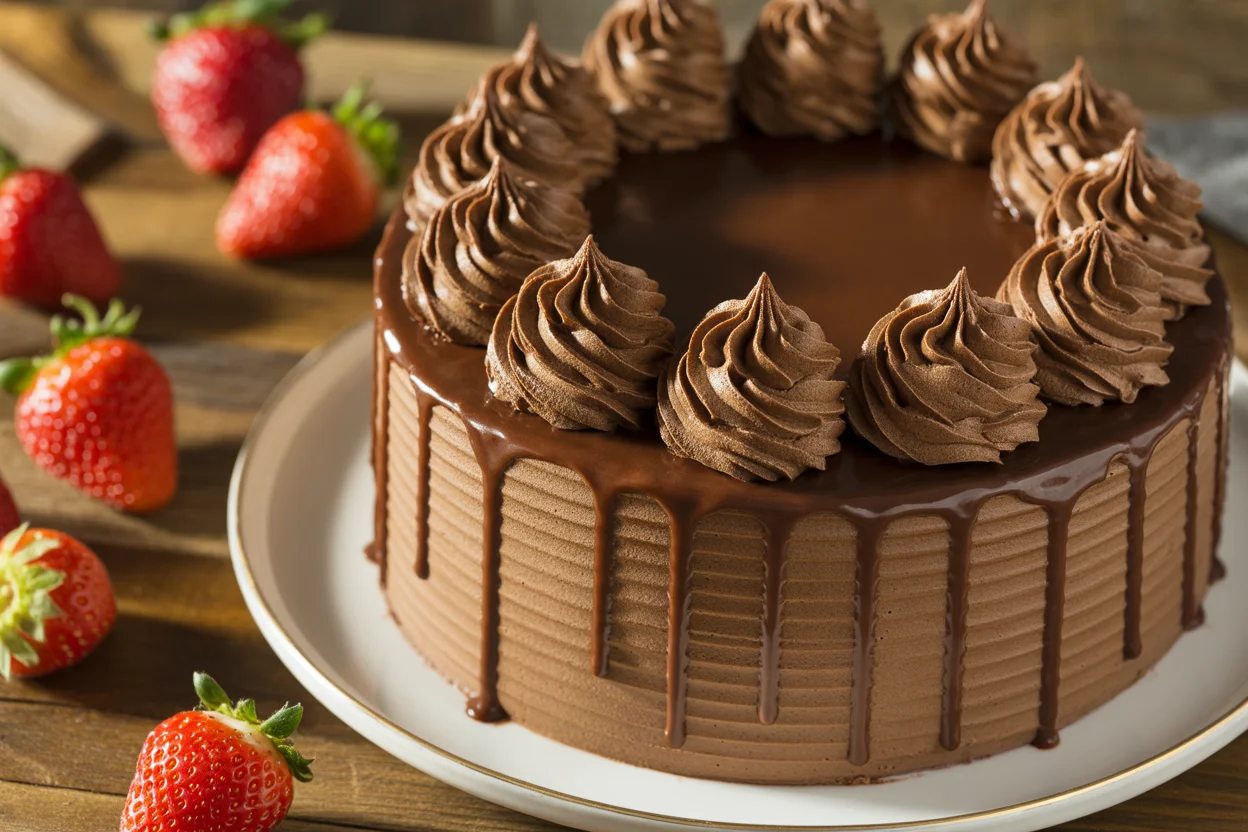
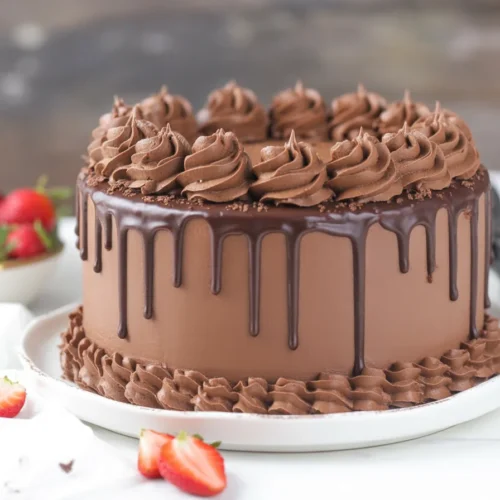
Wanna toss on a drizzle? Melt some chocolate with a dab of cream, pour on the top, then nudge a bit so it droops nicely over the sides. Oh, and if you wanna try piping, keep your hands warm so the frosting flows. If it blobs—well, blob on purpose. Sprinkles, cookie crumbs, berries, or even broken chocolate bars look amazing when scattered. Nobody says you need fancy tools for a decorated chocolate cake that gets all the love.
If you mess up, call it “rustic.” Or just scrape it off and start over. Trust me, pretty much every baker does that and quietly edits the photos.
Common mistakes to avoid when decorating
Here’s where folks (me included, back in the day) trip up. First, don’t ice a warm cake. I know, you’re excited, but it turns to chocolate soup and sadness. Patience, friend.
Also, don’t skip levelling your cake (just saw off the domed bit on top, no measuring tape needed). It’ll stop your cake from doing the Leaning Tower thing. Don’t over-whip your frosting, unless you like air bubbles and weird textures. And for real—don’t rush. The more you panic, the messier it gets.
Biggest tip? Hide your “oops” parts with toppings. Seriously. Shove some berries or candy on a wonky corner and suddenly you’re a cake design genius.
Tips for achieving a professional finish
Want that “five-star restaurant” look? Level your layers for balance. Clean your knife after every cut for smooth slices—yeah, it’s slow, but so worth it. For super-shiny finish on chocolate, warm your offset spatula with hot water and swipe around the sides. It smooths everything up, like cake magic.
Pipe swirls at the edge to give height and hide uneven frosting. Pop your cake in the fridge for half an hour before serving. Makes cutting neater, and somehow, flavors settle in like the cake took a tiny nap. Use the fridge, but don’t serve it ice-cold—let it sit a tad, or the chocolate flavor gets shy. If you want to fix smudges, just dab a finger in warm water and smooth things out. Super basic, kinda effective.
Creative decorating ideas for chocolate cakes
Alright, here’s my favorite part. Mix it up with whatever you’ve got: pretzels give a salty crunch, crushed Oreos are always a crowd-pleaser. Want fancy but easy? Use a veggie peeler to make chocolate curls (just swipe along a chocolate bar—so satisfying). Sprinkles aren’t just for kids, you know—rain down a handful on top for instant happiness.
You can even pile on candy, edible flowers, or toasted coconut. Allow your own messy style to show up. The best decorated chocolate cake is the one that feels like you, not an Instagram stranger. And please, try the “pile it high with berries” trick—people go wild for that.
- Serve with a scoop of vanilla ice cream for next-level dessert
- Pair with super-strong coffee (honestly balances the sweetness)
- Try whipped cream clouds instead of frosting for a lighter bite
- Give kids bowls of toppings and let them build their own creation
Common Questions
Q: Can I decorate a chocolate cake a day before serving?
A: Absolutely! In fact, it usually tastes better the next day. Just cover it well so it doesn’t dry out.
Q: My frosting keeps melting. Why?
A: Could be the cake is too warm, or your kitchen’s a sauna. Wait till everything cools down a bit.
Q: Do I have to use real butter for the frosting?
A: It’ll taste richer, but if you need to swap, go with a good margarine (though the result isn’t quite as luscious).
Q: What’s the easiest topping for a wow effect?
A: Chocolate shavings or curls, honestly. Looks complicated, but takes less than a minute.
Q: Can I freeze a decorated cake?
A: You sure can! Just wrap tightly and freeze. It’ll thaw fine. Give it a couple hours on the counter before eating.
Your Next Showstopper Awaits
Alright, you’re officially out of excuses not to try making your own decorated chocolate cake. Remember, you don’t need fancy tools or bakery skills—just a little patience, some confidence, and a willingness to improvise if things get weird. For even more simple-but-impressive baking ideas, check out resources like Sally’s Baking Addiction or stuff on the King Arthur site. Go give it a go—your future self (and probably everyone you feed) will be 100 percent impressed with your handiwork!

Decorated Chocolate Cake
Equipment
- Mixing Bowls
- Offset Spatula
- Stand Mixer
- Piping Bag (or zip bag)
- Parchment Paper
Ingredients
Chocolate Frosting
- 1 cup unsalted butter softened
- 3 cups powdered sugar
- 1/2 cup unsweetened cocoa powder
- 2–4 tbsp milk or heavy cream to loosen frosting
- 1 tsp vanilla extract
Decorating Add-ons
- chocolate bar for curls or shavings
- berries, cookies, or sprinkles optional toppings
Instructions
- Prepare cake layers and let them cool completely before decorating.
- Whip butter, powdered sugar, cocoa, vanilla, and milk until smooth and fluffy to make frosting.
- Level cake layers by trimming domes for a stable base. Place first layer on stand and spread frosting evenly.
- Stack remaining layers, adding frosting in between. Use spatula to spread frosting around sides and top, smoothing as you go.
- Optional: drizzle chocolate ganache over the cake edges for a droplet effect.
- Decorate with toppings: chocolate curls, sprinkles, berries, or cookies. Get creative!
- Chill for 30 minutes before serving for clean slices and a set finish.

