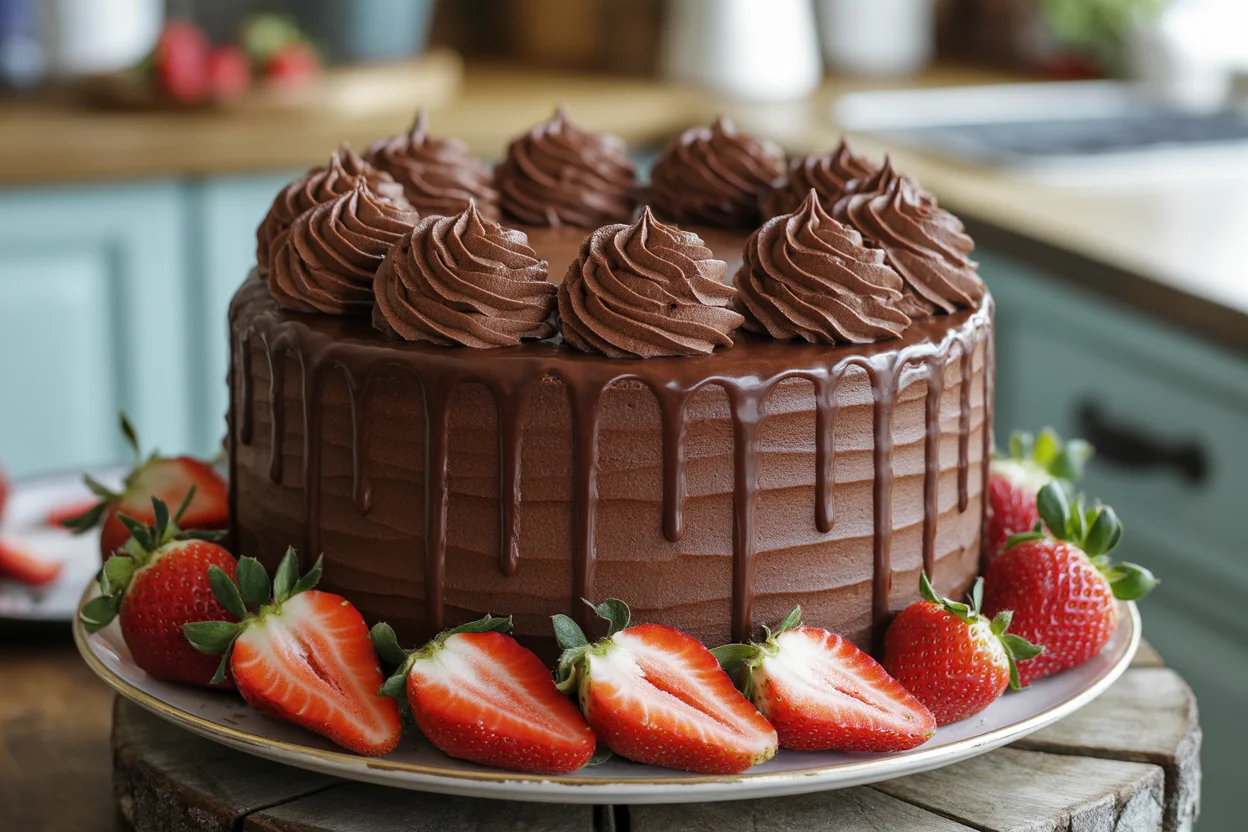
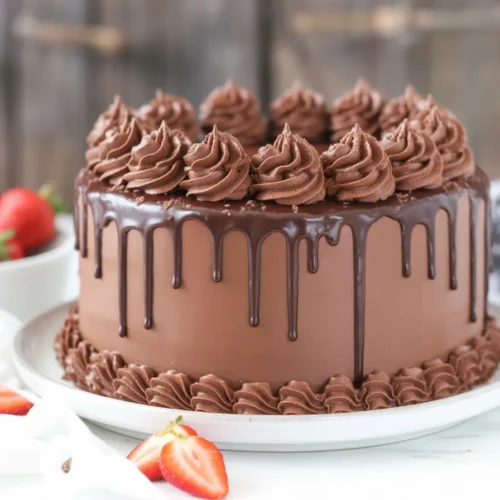
Chocolate Drip Cake. Okay, picture this: it’s your best friend’s birthday tomorrow. You promised you’d bring something “wow” to the party, and, oh no—the store-bought cake looks sad. Enter chocolate drip cake magic. It looks like five-star restaurant stuff but feels totally doable. I once saved the day with this trick, and yep, even my mom was impressed. Hang tight. I’m about to make you the hero of the dessert table.

How to make a perfect chocolate drip with any kind of chocolate
You don’t need to be a pro baker to nail a chocolate drip, trust me. I used to panic about ruining the look, but honestly, once you get the basic idea down, it’s really just melting and pouring. Whether you love dark, milk, or white chocolate (all taste dreamy), you can tweak the recipe to fit any vibe.
First, always start with the best chocolate you can get, and chop it up so it melts smoothly. Mix it with a splash of cream, warm it gently, then stir until it’s glossy and a bit thick. The ratio? Roughly equal parts chocolate to cream. I’ve played around tons—sometimes a little more chocolate for a thicker drip, sometimes less for a runnier style.
For white chocolate drip, keep in mind it’s super sweet and a tad fussier, so use a tad less cream. Too-warm ganache runs everywhere (hello, mess); too-cold, and it’ll clump. Pop your bowl in the microwave in short, cautious bursts. You want it pourable, but not thin like water.
Different chocolates give drips different personalities—dark is grown-up, white is fairytale sweet, milk is everyone’s pal. Go wild, mix two together for some marbled swagger if you’re feeling wild. Oh, and add a pinch of salt. It helps!
I’ve learned by trial and error (and, you know, cursing under my breath) but with patience, you’ll get your drip just right.
“I never thought my cakes could look so fancy until I followed this drip recipe. It instantly took my plain cakes to another level and my kids’ eyes lit up!” – Lisa, home-baker from Texas
Tips for a successful chocolate drip
Okay, real talk—drips can be wild and unpredictable. Want that flawless, bakery-star look? Here’s what actually matters (from a person who’s totally made every single mistake at least once).
Temperature is your bestie and your enemy. Make sure your ganache is just a bit warmer than room temp when you pour. If it’s blazing hot, you’ll get messy puddles. Too chilly and it slides down chunky. I always test one tiny drip on the side before going all in.
The cake’s gotta be cold. Not just room temp, but fridge chilling cold. It literally stops drips in their tracks and makes everything look tidy. Ganache that’s too thin? Add a little more chocolate and try again.
Also, never rush. If you’re running late and slam hot ganache on, trust me… it will look wild (not in a good way). Keep a paper towel for drips that get away from you. Sometimes I’ve just smoothed out a goof with a butter knife, called it “abstract art,” and no one even blinked.
Pay attention—don’t fuss too much if it’s not perfect. Half the fun is in the drippy, homemade look anyway.
How to make chocolate ganache for drip cakes
Let’s get you a chocolate drip cake ganache that always comes out rich and silky. All you need is your favorite chocolate and some heavy cream. Chop up about one cup chocolate (about 180g if you’re the weighing type). Pour half a cup of hot cream over it, let it sit a minute, then stir until it’s smooth and shiny. If it’s lumpy, gently microwave it in 10-second bursts, stirring each time. That fixes everything.
For white chocolate, use a little less cream, like a third of a cup, since it’s softer. My best discovery: go slow on mixing. Fast, crazy stirring can make it look grainy. Add vanilla or a pinch of instant coffee for a grown-up flavor twist! Also, don’t panic if the ganache sets up too firm. Add a spoonful of warm cream, stir, and watch it loosen up.
If your ganache looks split or oily, just keep stirring. Time and elbow grease fix most things in life—including drip cakes. Once it’s silky, let it cool till it’s just pourable but not hot. That’s honestly the only tricky step.
Best tools for applying a chocolate drip
Now, don’t let “professional tools” scare you off. My first few chocolate drip cakes? I used a regular spoon and a zip bag, and they still looked great (okay, at least edible). But here’s what helps if you want clean, neat drips:
- Squeeze bottles work—just fill, tip upside-down, and gently squeeze. You control the drip speed easily.
- A small spoon is your backup. Scoop up ganache and dribble tiny bits along the cake edge. Works like a charm.
- Try a piping bag with a small tip—especially for fancy patterns or careful control.
- If you’re totally out of options, use a regular sandwich bag. Snip the tiniest bit off one corner and use as a makeshift bottle.
You don’t need any weird gadgets from a chef’s supply shop. Use what’s handy. Just don’t stress—crumpled kitchen towels hide any messes and nerves.
DRIP CAKE DECORATING METHODS
Let’s be totally honest—decorating a chocolate drip cake is the best part. Some folks love going over the top with sprinkles, fruits, or big swirls of buttercream. Me? Some days I’m all about simple drips and a pile of fresh raspberries. Other days…bring on the galaxy sprinkles and chocolate bars!
Start with a smooth icing layer (homemade or store-bought, nobody minds). Once your chocolate drip’s done its job, let it set a few minutes, then go wild: pile on mini cookies, cut-up candy bars, or even edible flowers if you’re feeling extra.
You can use a spatula to swirl the top, or just let a puddle of ganache sit for a glossy “mirror” finish (looks fancy with zero skill). My neighbor adds gold leaf for birthdays, but I say save your money—crushed Oreos look just as cool.
Put your own spin on it; there really are no rules (I mean, someone once put popcorn on a cake. It was actually awesome). Take a photo, show off your masterpiece on Instagram, and let your friends wonder how you got so good.
Common Questions
Can I use regular chocolate chips for the drip?
Totally. Just don’t use the super cheap ones—they can taste a little waxy. Ghirardelli, Hershey’s, or Trader Joe’s are great.
What do I do if my ganache is too runny?
Quick fix: add more chopped chocolate, stir again, wait a minute, then try a test drip. Sometimes sitting five minutes will thicken it up too!
Can I freeze a chocolate drip cake?
Absolutely. Wrap tightly and freeze. Just give it several hours to thaw or you’ll bite into an ice brick.
Why did my drips fall all the way to the bottom of the cake?
The culprit’s usually hot ganache or a too-warm cake. Next time, get both cooled down and try again.
How long does a drip cake last?
Fridge life? Honestly about five days, if you can hide it from hungry roommates or midnight snackers.
Get Your Drip On—You’ve Got This!
There you go—my real-world tricks for a five-star looking chocolate drip cake even if you’ve only got a bowl and a spoon. With even a little practice, you’re gonna impress everyone. Remember to keep it fun, don’t get hung up on tiny mistakes, and maybe even check out some step-by-step videos for visual backup. Dive in, experiment, and promise me you’ll enjoy licking the ganache bowl. Now stop scrolling—go melt that chocolate and bake some joy!

Chocolate Drip Cake
Equipment
- Microwave-safe bowl
- Spoon or squeeze bottle
- Offset Spatula
- Piping bag (optional)
- Cake Turntable (optional)
Ingredients
Ganache Drip
- 6 oz chopped chocolate dark, milk, or white
- 1/2 cup heavy cream
- 1 pinch salt optional, enhances flavor
- gel food coloring optional, for white chocolate drips
Cake & Frosting Base
- 1 frosted and chilled cake any flavor, fully frosted and cold
Instructions
- Chop chocolate finely and place in a heat-safe bowl.
- Heat cream until just steaming (not boiling) and pour over chocolate. Let sit 1–2 minutes.
- Stir gently until the mixture becomes smooth, glossy ganache. Add salt and food coloring (if using).
- Let ganache cool until slightly warm but still pourable—test a drip on a chilled glass or plate.
- Transfer to a squeeze bottle, piping bag, or use a spoon to drip ganache along the edges of a chilled, frosted cake.
- Optional: Pour extra ganache over the center and smooth with an offset spatula for a glossy top.
- Let the drip set slightly before decorating with fruit, candy, sprinkles, or cookies.

