- What Is Mirror Glaze?
- How Is This Easy Mirror Glaze Recipe Different from A Classic Mirror Glaze?
- Best cake and frosting for Mirror Glazes
- How to Properly Pour Mirror Glaze Over a Cake
- Kitchen tools to make a mirror glaze cake
- Common Questions
- Hop Into the Gloss (You Got This!)
Ever caught yourself drooling over a Black Mirror Glaze Cake online, feeling both hungry and unreasonably intimidated? Don’t worry, I was right there with you, staring at those glossy, shiny cakes and thinking, there’s just no way it’s not rocket science. Spoiler: it’s not. If you can make pudding or even heat up soup, you’ve totally got this. And the look? It’s as dramatic as a five-star chef’s birthday party, but a whole lot easier. Alright, ready to start? Let’s pull on our aprons, laugh at our messes, and get glossy.

What Is Mirror Glaze?
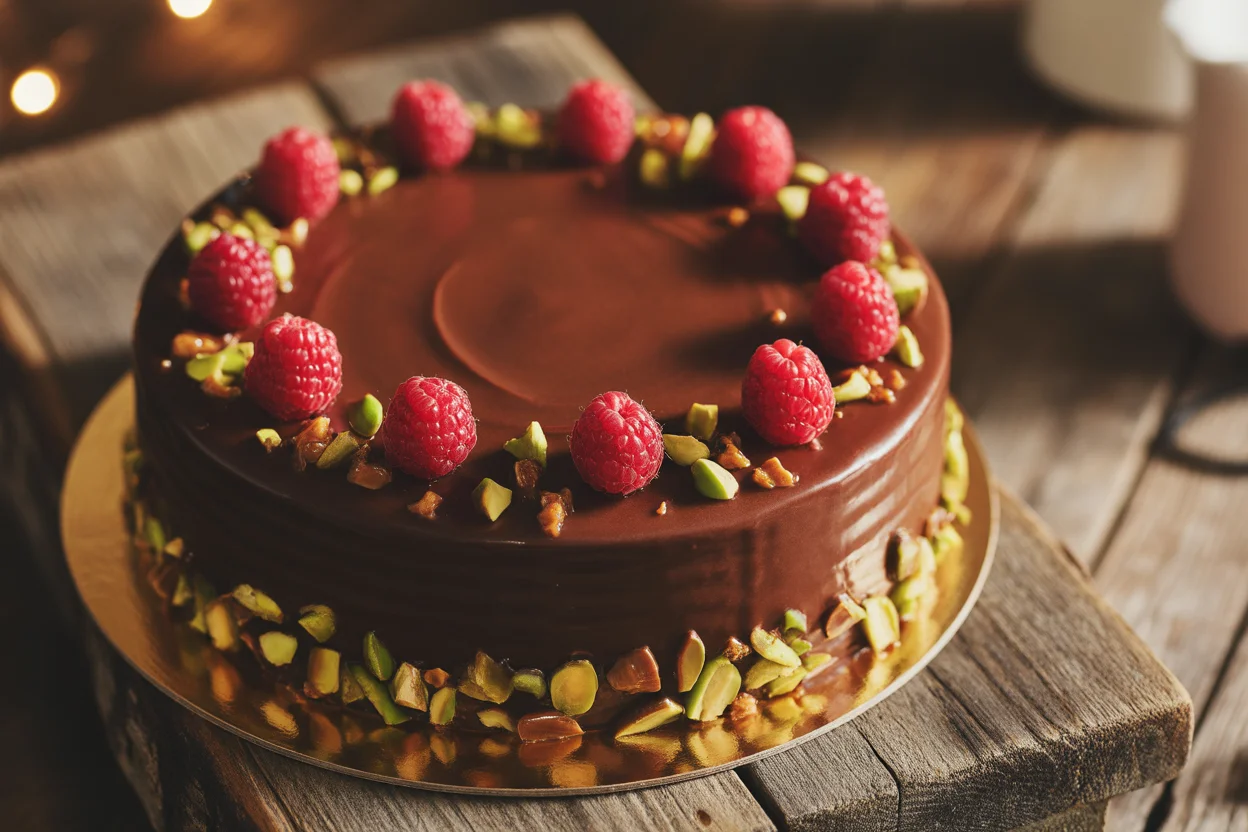
Okay, so mirror glaze sounds pretty fancy, right? Here’s the deal. Mirror glaze is just a shiny, pourable icing that you drizzle over cakes, and it sets into a smooth, flawless finish. It’s called “mirror” for a reason. It’s so shiny you can almost see your face. The Black Mirror Glaze Cake takes this one step further, with a deep, moody color that turns any dessert into a straight-up showpiece.
The basic idea is simple: think sweet goo that gets glossy. Classic mirror glazes use white chocolate, gelatin (yep, the same stuff in jell-o), water, sugar, and sometimes sweetened condensed milk. A little food coloring, and boom—the cake looks like it belongs in a bakery window.
I’ll be honest the first time I tried it, I had sticky glaze EVERYWHERE. Even the cat somehow got some. But hey, practice makes glossy (and slightly less messy).
“I tried this recipe on a Saturday afternoon with my nine-year-old. It was so much easier than we thought, and our cake was shockingly pretty. The glaze covered up every lump and we had some serious fun with the swirling!” – Jamie, Chicago
How Is This Easy Mirror Glaze Recipe Different from A Classic Mirror Glaze?
Right, so you’re standing there wondering, why try this easy version? Great question. The classic method can be a little over-the-top for normal humans. Like, who needs a candy thermometer just to have dessert? My version’s here to help you dodge some of that fuss.
This easy recipe skips fussy steps but still gives you that crazy shine, especially for the Black Mirror Glaze Cake. I slim down the ingredients list and don’t bother with all that extra straining and temp checking. You still get a super slick finish but with way less sweat. I mean, unless your kitchen’s as hot as mine on baking day.
If you’re into chocolate, you’ll love this one. It’s got that dark chocolate kick, plus it hides every baking whoopsie (thank goodness). I’ll bet you could even trick your friends with how professional it looks.
Best cake and frosting for Mirror Glazes
Here’s my strong opinion: not every cake is right for a mirror glaze. The Black Mirror Glaze Cake needs a solid base. If your cake falls apart at the sight of a fork, it’s gonna get soggy and sad under the glaze.
You want a firm cake. Think mousse cakes, brownies, or a dense chocolate layer cake. I tried a soft sponge once—yeah, it turned into a puddle. Avoid that.
And don’t forget about your icing. It needs to be super smooth and cold. A thick ganache or a chill buttercream both work great, as long as there are no crumbs peeking out. If the cake isn’t frosted smoothly, every bump shows. Like a bad haircut, the glaze won’t hide much.
Honestly, my go-to: chocolate mousse cake, chilled overnight. It holds up, tastes dreamy, and I feel like a dessert boss every time.
How to Properly Pour Mirror Glaze Over a Cake
Let’s be real: this part feels like a magic trick, but it’s mainly about setup and patience, not sleight of hand.
Here’s what has saved me from sticky disasters more times than I can count:
- Make absolutely sure your cake is icy cold. I’m talking “left in the freezer for a full hour” cold.
- Place the cake on a wire rack with a big tray underneath. Trust me, you don’t want glaze all over your counter.
- Pour your black mirror glaze in a spiral, starting in the middle. Move slowly and let gravity do the work (I tend to rush. Don’t be me).
- Gently pop any bubbles with a toothpick or quick blowtorch pass. If you’re a daredevil, skip the torch. No rules.
Doesn’t have to be perfect! Extra drips are normal, and they actually look kinda artistic.
| Tip Description | |
| Start Cold | Ensure your cake is chilled for at least an hour before glazing to help the glaze set properly. |
| Wire Rack | Use a wire rack to pour the glaze. This allows excess glaze to drip off, keeping your presentation neat. |
| Timing is Key | Glaze your cake a few hours before serving for the best shine and flavor. |
| Bubble Troubles | Use a toothpick to pop any air bubbles after pouring. This keeps your glaze looking smooth. |
| Practice Makes Perfect | Don’t be afraid to mess up. Every attempt teaches you something new to improve your next cake. |
Kitchen tools to make a mirror glaze cake
Let’s talk gear. Please don’t buy anything wild just for your Black Mirror Glaze Cake. Most of this stuff is in your kitchen already, unless you moved last week and didn’t unpack.
You’ll need a couple mixing bowls and a whisk. Grab a saucepan for heating things up and a spatula for scraping. A wire rack really helps with pouring (hello, less mess), but in a pinch, I’ve set my cake on upside-down bowls over a baking sheet. Desperate times, right?
If you’ve got a food thermometer, fantastic—but honestly, I use my finger to guess if something’s “warm, but not burning” and haven’t totally messed it up yet. Oh, and parchment paper or foil under the rack makes clean-up way easier. Cleanup isn’t glamorous, but neither is a sticky floor. Just saying.
Common Questions
How far ahead can I glaze my cake?
You’ll want to glaze it a few hours before serving. The shine holds up best that day, but leftovers are still tasty—just less shiny.
Can I freeze a glazed cake?
Sort of. Freeze before glazing, not after. Freeze the cake, glaze it while frozen, and let it thaw in the fridge.
Why did my glaze end up dull or streaky?
Your cake wasn’t cold enough, or the glaze cooled down before pouring. Try to keep both glaze and cake at the right temp.
Can I use store-bought frosting under the glaze?
Short answer: sure, if it’s thick and spread smooth. Thin, gummy frostings don’t really work.
Do I need black food coloring for a Black Mirror Glaze Cake?
Yes, if you want that dramatic look. Gel or powder works better than liquid. Go bold! The blacker, the better for that moody shine.
Hop Into the Gloss (You Got This!)
There you go: everything you need to rock your own Black Mirror Glaze Cake, whether it’s your first try or tenth. It’s not about perfection—it’s about the fun, the shine, and yes, maybe a dramatic selfie with your reflection in the glaze (I won’t judge). Dive right in, and don’t stress the mess. For bonus tips on cake techniques or creative decorating, take a peek at this trusty cake decorating basics guide.
Trust yourself. With a little patience and a dash of stubbornness, you’ll nail it. And hey, if you mess up? Just call it “abstract art” and enjoy every shiny bite.

Black Mirror Glaze Cake
Equipment
- Mixing Bowls
- Whisk
- Saucepan
- Wire Rack
- Spatula
- Food Thermometer (optional)
Ingredients
Mirror Glaze
- 1 cup sugar
- 1/2 cup water for dissolving sugar
- 1/2 cup sweetened condensed milk
- 1 1/2 cups dark chocolate chips or chopped chocolate good quality
- 3 tsp powdered gelatin bloomed in 3 tbsp water
- black gel food coloring for dramatic shine
Instructions
- Bloom gelatin by sprinkling it over 3 tbsp water and letting it sit for 5 minutes.
- In a saucepan, heat sugar, water, and condensed milk until just simmering. Remove from heat.
- Add bloomed gelatin and stir until dissolved. Pour mixture over chopped chocolate and whisk until smooth.
- Stir in black food coloring. Let glaze cool until slightly thickened but still pourable (about 90–95°F or room-warm to touch).
- Place chilled cake on a wire rack with a tray underneath. Pour glaze slowly in a spiral motion from the center outward, letting it drip evenly over the sides.
- Pop any air bubbles with a toothpick. Let set for 10–15 minutes before moving cake to a serving plate.

