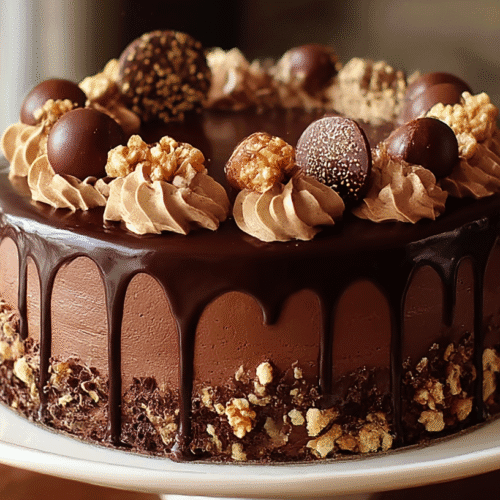
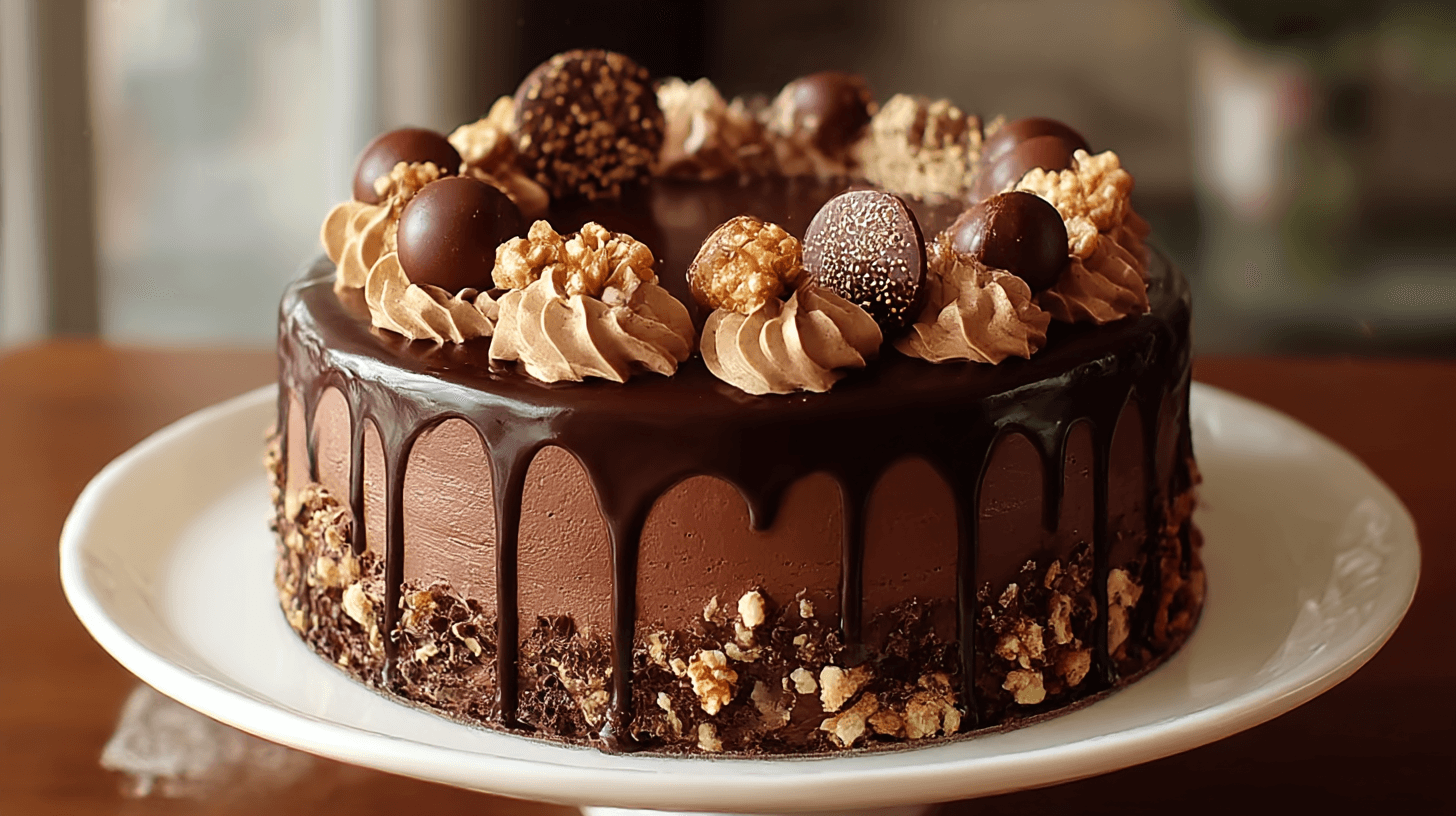
I’ll never forget the first time I baked a decorated chocolate cake at home. It was for my daughter’s birthday, and I was running on little sleep and a lot of love. The cake wasn’t perfect—some frosting leaned to one side, and the sprinkles spilled everywhere—but the joy on her face told me none of that mattered. That day taught me something precious: baking at home isn’t about perfection, it’s about creating moments that feel warm and unforgettable.
Why This Recipe Works
Making a decorated chocolate cake at home might sound intimidating, but it’s completely doable with a few simple tricks.
Moist and Rich Flavor
This cake uses cocoa powder and melted chocolate, giving it both depth and sweetness.
Foolproof Method
The recipe is designed so you can mix the wet and dry ingredients without fear of overworking the batter.
Beginner-Friendly Decoration
From smooth buttercream to easy swirls of ganache, the decorating steps are approachable for anyone.
Reliable for Celebrations
It’s the kind of cake that becomes a centerpiece, whether it’s for birthdays, holidays, or just because.
Ingredients and Swaps
For the Cake
- All-purpose flour
- Unsweetened cocoa powder
- Baking powder and baking soda
- Sugar
- Eggs
- Whole milk
- Vegetable oil
- Melted dark chocolate
For the Frosting
- Unsalted butter
- Powdered sugar
- Heavy cream
- Vanilla extract
- Melted chocolate for richness
Optional Swaps
- Use almond milk instead of dairy milk if you prefer.
- Coconut oil can replace vegetable oil for a slightly nutty flavor.
- Add espresso powder for a deeper chocolate taste.
Instructions
- Prepare the pans – Grease and line two 9-inch cake pans. This prevents sticking and makes the cakes easy to remove.
- Mix the dry ingredients – Combine flour, cocoa powder, baking powder, baking soda, and salt in a bowl.
- Whisk the wet ingredients – In another bowl, beat eggs, sugar, milk, and oil until smooth. Stir in melted chocolate.
- Combine and bake – Gently fold dry ingredients into wet until just combined. Divide the batter into pans and bake at 350°F for 30–35 minutes.
- Cool completely – Let cakes rest before frosting to avoid melting the buttercream.
- Make the frosting – Beat butter until fluffy, then gradually add powdered sugar, vanilla, cream, and melted chocolate.
- Assemble the cake – Place one layer on a plate, spread frosting, then top with the second layer. Frost the top and sides evenly.
- Decorate – Add swirls of frosting, drizzle with ganache, or sprinkle with chocolate shavings for a festive finish.
Why It Works in the Kitchen
Cocoa and Melted Chocolate Combo
When you use both cocoa powder and melted chocolate, you’re building layers of flavor. Cocoa brings a bold, slightly bitter edge that balances sweetness, while melted chocolate adds smoothness and body. Together, they create that deep, bakery-style taste people expect from a decorated chocolate cake at home.
Oil Over Butter
Many home bakers assume butter is the only path to a moist cake. The truth is, oil keeps the crumb tender for days and prevents dryness, even if you bake the cake the night before a celebration. It’s one of those small choices that makes a big difference.
Room-Temperature Ingredients
Cold eggs or milk can cause the batter to seize up or mix unevenly. Letting everything come to room temperature ensures your batter is smooth and uniform, giving you an even rise in the oven. This step may seem minor, but it’s essential for professional-looking results.
Resting the Cake Before Frosting
Patience pays off here. If you frost too soon, the heat will melt your buttercream, leaving drips and frustration. Waiting at least an hour allows the cake to firm up, making it much easier to decorate neatly and confidently.
Layering Frosting with a Crumb Coat
The “crumb coat” is a thin layer of frosting that locks in loose crumbs. After chilling briefly, you’ll add the final coat of frosting, which looks smooth, polished, and celebration-ready. It’s a simple bakery secret that makes your cake look instantly more professional.
Variations and Adaptations
Classic Birthday Cake
Brighten up the look with rainbow sprinkles scattered generously on top. It’s cheerful, nostalgic, and guaranteed to make kids (and adults) smile.
Holiday Twist
Infuse the batter with peppermint extract and finish with crushed candy canes for a festive winter treat. It’s like a chocolate-mint wonderland in every bite.
Fancy Celebration
When the occasion calls for elegance, drizzle the frosted cake with warm salted caramel and garnish with delicate chocolate curls. It’s rich, striking, and made to impress.
Kid-Friendly Fun
Let little ones join in by decorating with gummy bears, candy-coated chocolates, or fun shapes. It might get a little messy, but it turns the process into a memory they’ll treasure.
Elegant Touch
For a grown-up twist, top the cake with fresh berries and edible flowers. It creates a beautiful, sophisticated centerpiece perfect for dinner parties or anniversaries.
Common Mistakes to Avoid
Overmixing the Batter
Stirring too much can overdevelop the gluten, making the cake dense and heavy. Stop mixing as soon as the dry ingredients disappear into the wet.
Skipping the Cooling Step
Even if you’re in a rush, don’t skip cooling. Frosting on a warm cake will slide right off, leaving you frustrated and sticky. Give it time, and your decorations will thank you.
Too Much Powdered Sugar in Frosting
It’s tempting to add extra sugar for thickness, but too much leads to frosting that’s stiff and overly sweet. Balance it with cream or milk so it stays soft, spreadable, and delicious.
Uneven Layers
If your cakes dome in the oven, use a serrated knife to trim the tops flat. This small step makes stacking easier and prevents the cake from wobbling or leaning.
Forgetting the Crumb Coat
A final coat applied directly to unfrosted cake layers will pick up crumbs and look messy. The crumb coat seals them in so your cake stays neat and picture-perfect.
FAQ
Can I make this cake ahead of time?
Yes! You can bake the layers a day before serving. Once cooled, wrap them tightly in plastic wrap and store at room temperature. Assemble and decorate the next day for fresh flavor.
How do I store leftovers?
Keep your decorated chocolate cake at home covered under a cake dome or in an airtight container. It will stay soft at room temperature for up to 3 days. For longer storage, refrigerate for 5 days.
Can I freeze decorated chocolate cake?
It’s best to freeze the unfrosted layers. Wrap them well in plastic and freeze for up to 2 months. When you’re ready, thaw at room temperature and frost before serving.
What’s the best cocoa powder to use?
Both unsweetened natural cocoa and Dutch-processed cocoa work beautifully. Natural cocoa adds brightness and a slightly tangy note, while Dutch-processed gives a smoother, darker finish. Choose based on the flavor you love most.
Final Encouragement
If your decorated chocolate cake at home doesn’t turn out bakery-perfect, remember—what matters most is the laughter and love around the table. Every swirl of frosting, every sprinkle, every shared slice becomes part of a memory. So tie on your apron, breathe in the smell of chocolate, and know that the sweetness you’re making goes far beyond the cake itself.

Decorated Chocolate Cake at Home
Equipment
- Two 9-inch Cake Pans
- Mixing Bowls
- Whisk or Electric Mixer
- Offset Spatula
- Cooling Rack
Ingredients
Cake
- 1 3/4 cups all-purpose flour
- 3/4 cup unsweetened cocoa powder
- 1 1/2 tsp baking powder
- 1/2 tsp baking soda
- 1/2 tsp salt
- 1 1/2 cups granulated sugar
- 2 large eggs room temperature
- 1 cup whole milk room temperature
- 1/2 cup vegetable oil or coconut oil
- 1/2 cup melted dark chocolate slightly cooled
Frosting
- 1 cup unsalted butter softened
- 3 1/2 cups powdered sugar
- 1/3 cup heavy cream plus more as needed
- 1 1/2 tsp vanilla extract
- 1/4 cup melted chocolate for extra richness
Instructions
- Preheat oven to 350°F (175°C). Grease and line two 9-inch round cake pans.
- In a bowl, sift together flour, cocoa powder, baking powder, baking soda, and salt.
- In another bowl, whisk together eggs, sugar, milk, and oil until smooth. Stir in melted chocolate.
- Gently fold dry ingredients into the wet mixture until just combined. Do not overmix.
- Divide batter evenly between pans and bake for 30–35 minutes, or until a toothpick comes out clean.
- Let cakes cool in the pans for 10 minutes, then transfer to a wire rack to cool completely.
- To make frosting, beat softened butter until fluffy. Gradually add powdered sugar, then mix in vanilla, cream, and melted chocolate. Beat until smooth and spreadable.
- Level cake layers if needed. Add a crumb coat, chill for 15 minutes, then apply the final frosting layer.
- Decorate as desired: swirls of frosting, ganache drizzle, sprinkles, chocolate shavings, or berries.

