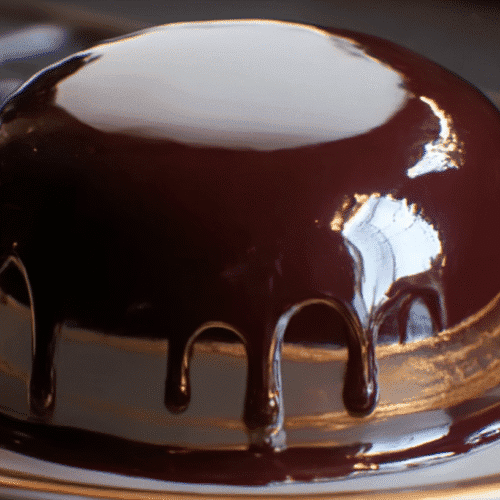
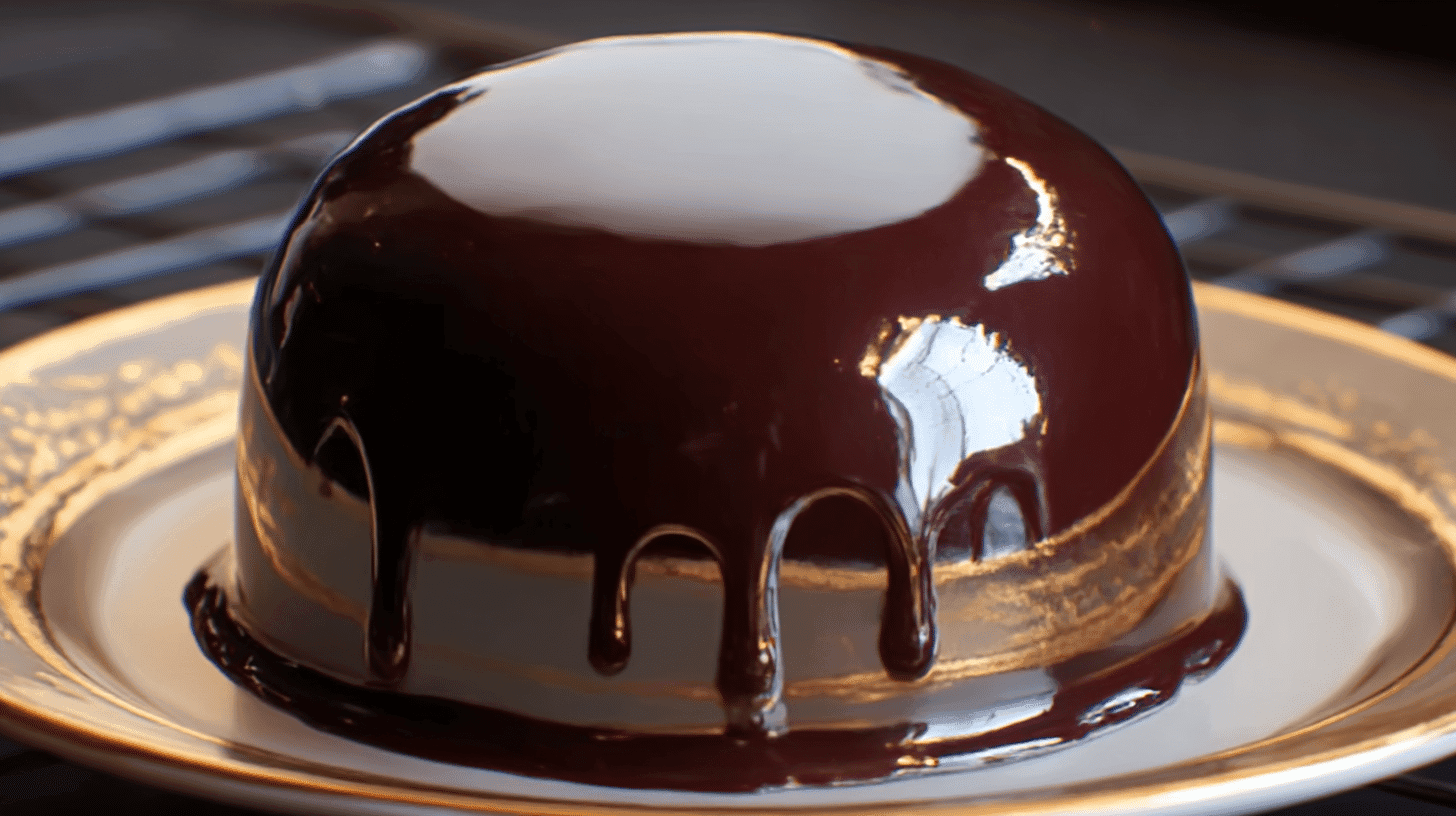
I still remember the first time I tried making a chocolate mirror glaze. It was late at night, my kitchen counters covered in bowls and spoons, and I was desperate to make my daughter’s birthday cake something she’d never forget. I had read that this glaze could give cakes that hypnotic, shiny look you see in pastry shop windows, but I was terrified it wouldn’t set. When I poured it, though, and watched the silky chocolate flow like velvet over the cake, I actually gasped. My little girl’s wide, happy eyes told me it worked. That moment made me fall in love with this technique — it feels almost magical.
Why This Recipe Works
The Science Behind the Shine
Chocolate mirror glaze isn’t just frosting. It’s a carefully balanced mixture of sugar, cocoa, cream, gelatin, and chocolate. When heated to the right temperature and poured over a chilled cake, it sets into a flawless, reflective layer.
What Makes It Foolproof
The beauty of this recipe is that it balances sweetness with richness. Too much sugar, and the glaze crystallizes. Too little gelatin, and it slides right off. This version is tried and tested to give you consistency every time.
When to Use It
This glaze isn’t just for show — it adds a smooth chocolate flavor that complements sponges, mousses, and cheesecakes beautifully. Perfect for birthdays, holidays, or anytime you want that “wow” factor.
A Recipe That Feels Doable
Unlike intimidating bakery instructions, this recipe is broken into simple steps with explanations so you understand the why behind each move. Even if you’re new to glazing, you’ll feel confident.
Ingredients and Swaps
Core Ingredients
- 1 cup (200 g) sugar
- ½ cup (120 ml) water
- 2 tbsp cocoa powder (unsweetened)
- ½ cup (120 ml) heavy cream
- 4 oz (115 g) bittersweet chocolate, finely chopped
- 2 tsp powdered gelatin
- 2 tbsp cold water (for blooming gelatin)
Optional Flavor Swaps
- White Chocolate Mirror Glaze: Replace bittersweet chocolate with white chocolate and add gel food coloring.
- Coffee Kick: Stir in 1 tsp instant espresso powder with the cocoa for a mocha twist.
- Dairy-Free: Swap cream with coconut cream and use dairy-free chocolate.
Tools You’ll Need
- Candy thermometer (for accuracy)
- Fine mesh strainer (for silky finish)
- Offset spatula (for spreading if needed)
Step-by-Step Instructions
Step 1: Bloom the Gelatin
Sprinkle gelatin over 2 tablespoons of cold water. Let it sit for 5 minutes until it swells and looks slightly grainy. This step allows the gelatin to dissolve smoothly later, ensuring your glaze sets with that iconic glassy finish.
Step 2: Cook the Syrup
In a small saucepan, combine the sugar, water, and cocoa powder. Bring the mixture to a gentle boil, stirring occasionally, until the sugar fully dissolves. This forms the deep, chocolatey base of your glaze.
Step 3: Add the Cream
Remove the saucepan from heat and slowly stir in the heavy cream. The cream balances the intensity of the cocoa while adding a silky texture.
Step 4: Melt the Chocolate
Place the finely chopped chocolate in a heatproof bowl. Pour the hot cocoa mixture over it and let it sit undisturbed for about 1 minute. Then stir until the chocolate melts completely and the mixture becomes glossy.
Step 5: Add the Gelatin
Stir the bloomed gelatin into the warm glaze until it dissolves completely. This is the secret ingredient that gives the glaze its elasticity and mirror-like shine.
Step 6: Cool to the Right Temperature
Allow the glaze to cool until it reaches about 95°F. If it’s too hot, it will melt your cake. If it’s too cool, it won’t flow smoothly. Using a thermometer here makes a big difference.
Step 7: Pour Over the Cake
Place your cake on a wire rack set over a baking sheet to catch drips. Starting at the center, pour the glaze in a slow, steady stream, letting it flow outward and over the sides. Do not touch or spread it — the glaze will naturally cover the cake.
Why It Works
- Gelatin’s Role: Provides elasticity so the glaze doesn’t crack.
- Temperature Matters: The 95°F pour ensures smooth coverage.
- Sugar and Cocoa: Sugar keeps the texture glossy, while cocoa deepens flavor.
- Cream and Chocolate: Balance bitterness and sweetness while adding body.
- Straining for Perfection: Running the glaze through a fine sieve removes bubbles and lumps.
- Chilled Cake: The cold surface shocks the glaze into setting instantly.
Variations and Adaptations
- Galaxy Mirror Glaze: Add gel food colors, swirl gently for a space-like look.
- Nutty Crunch: Sprinkle chopped hazelnuts or pistachios before the glaze sets.
- Seasonal Touch: Add peppermint extract for winter or orange zest for summer.
- Mini Cakes: Works beautifully on small mousse domes.
- Layered Cakes: Try a sponge base topped with mousse, finished with glaze.
Common Mistakes and Fixes
- Glaze Too Thick → Rewarm gently and stir in 1–2 tbsp warm cream.
- Glaze Sliding Off → Cake wasn’t cold enough; chill at least 4 hours.
- Bubbles on Surface → Always strain glaze before pouring.
- Dull Finish → Temperature too low; reheat slightly before pouring.
- Cracks After Setting → Too much gelatin; measure carefully.
FAQs
Can I make chocolate mirror glaze ahead of time?
Yes! Store in the fridge for up to 3 days. Reheat gently and bring back to 95°F before using.
Do I need to freeze my cake before glazing?
Freezing helps but isn’t required. At minimum, chill your cake in the fridge for 4 hours.
Can I color chocolate mirror glaze?
Yes, but only if you use white chocolate as the base. Add gel-based colors for vibrancy.
Will the glaze set hard?
No, it sets soft and sliceable, like a silky shell rather than a crunchy one.
Can I glaze cupcakes or cookies?
Absolutely. Just dip the tops into cooled glaze for a shiny finish.
Final Encouragement
There’s something truly wondrous about standing back and watching that glossy chocolate cascade down your cake. For a moment, it feels like you’ve brought a bit of bakery magic into your own kitchen. And when you slice into it, hearing the delighted gasp of someone you love — that’s the reward that lingers long after the plates are cleared. Don’t let perfection scare you away. This isn’t about creating something flawless; it’s about creating joy. So the next time you need a dessert that feels special, remember: you can do this, right in your own home, and the people around your table will never forget it.

Chocolate Mirror Glaze
Equipment
- Candy Thermometer
- Fine Mesh Strainer
- Offset Spatula
- Mixing Bowls
Ingredients
Core Ingredients
- 1 cup sugar
- 1/2 cup water
- 2 tbsp unsweetened cocoa powder
- 1/2 cup heavy cream
- 4 oz bittersweet chocolate finely chopped
- 2 tsp powdered gelatin
- 2 tbsp cold water for blooming gelatin
Instructions
- Bloom gelatin by sprinkling it over 2 tbsp cold water. Let sit 5 minutes.
- In a saucepan, combine sugar, water, and cocoa powder. Bring to a simmer, whisking until smooth.
- Stir in heavy cream. Remove from heat and add bloomed gelatin. Stir until dissolved.
- Add chopped bittersweet chocolate. Let sit 2 minutes, then whisk until smooth and glossy.
- Strain glaze through a fine mesh sieve to remove bubbles or lumps.
- Cool glaze to 95°F (35°C). Place chilled cake on a rack over a tray and pour glaze evenly over the top, letting it cascade down the sides.

